MySQL is a database application used extensively on the web. In fact, it is used on several popular web suites like WordPress, Joomla, Drupal etc. Employing MySQL and a server-side scripting language such as PHP, you can develop awesome dynamic web sites.
On this page we provide step-by-step detailed instructions on installing MySQL on Windows 10. We will first download the MySQL binary file and then configure the database application on the local computer.
Though this page is a part of the series on setting up a local web development environment on your Windows 10 computer, you don’t need to install Apache web server or PHP language if you simply want to learn or use MySQL.
Sponsored Links
Let us begin.
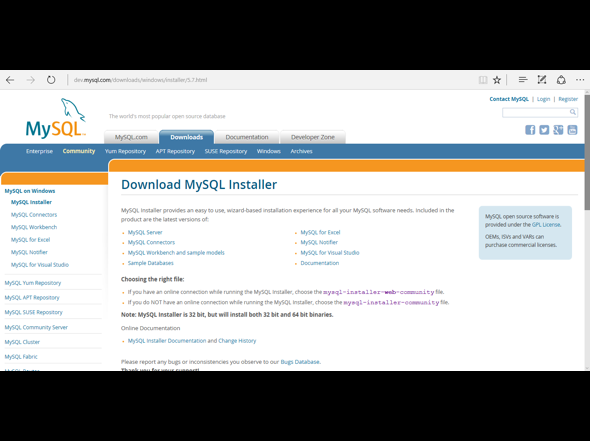
- The first step is to download the MySQL installer file. Simply click this link to be taken directly to the downloads page [Slide 1].
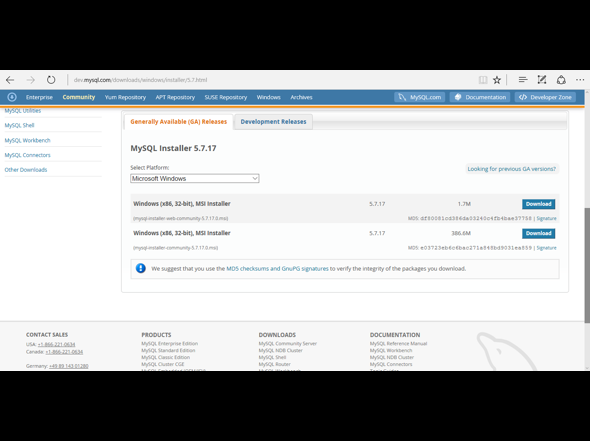
- Scroll down the page to come to the actual download section. We would be downloading and installing MySQL 5.7.17 and are provided with two options to choose from. Click on the second Download button to proceed. This will download the mysql-installer-community-5.7.17.0.msi file. It is fairly large – 386.6 MB! [Slide 2]
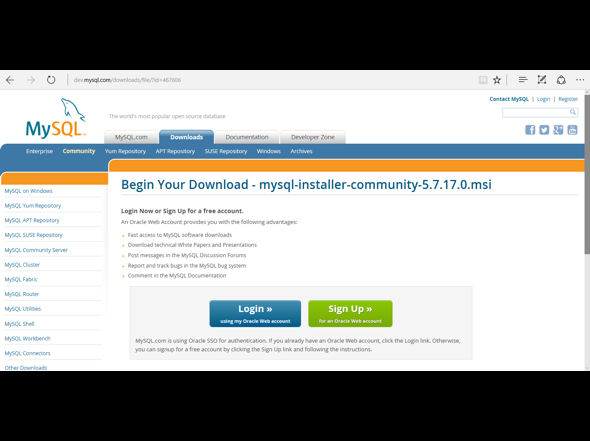
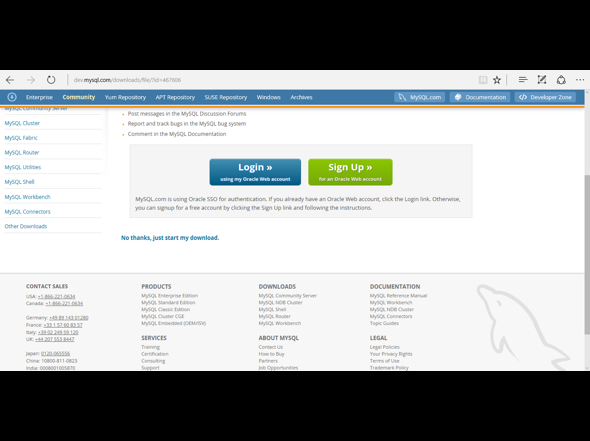
- You would now be asked to login or create an account at the MySQL web site [Slide 3]. You can either do that or you can simply scroll down and click the nondescript No thanks, just start my download link [Slide 4].
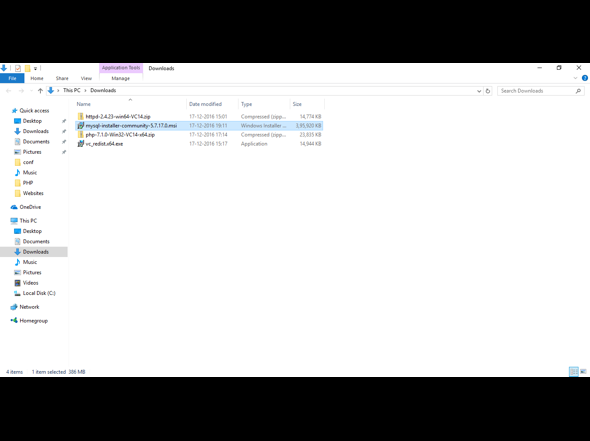
- The download will start and the file will be placed in the default downloads folder on your computer. Move to that folder [Slide 5].
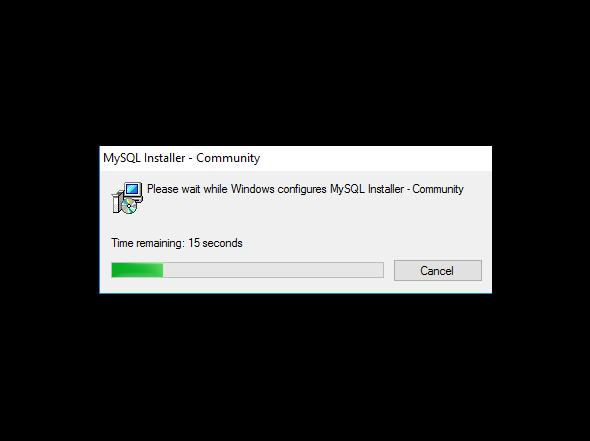
- Double-click on the file to start the extraction and installation process [Slide 6]. If you get a User Account Control window pop-up asking for permission, click Yes.
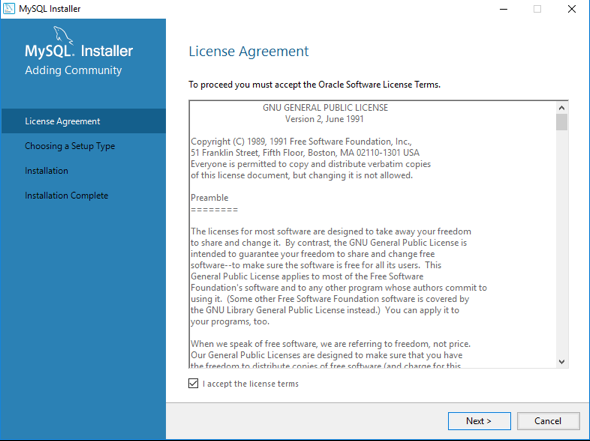
- Once the MySQL Installer is launched, put a check mark in the small box to agree to the license terms and hit the Next button [Slide 7].
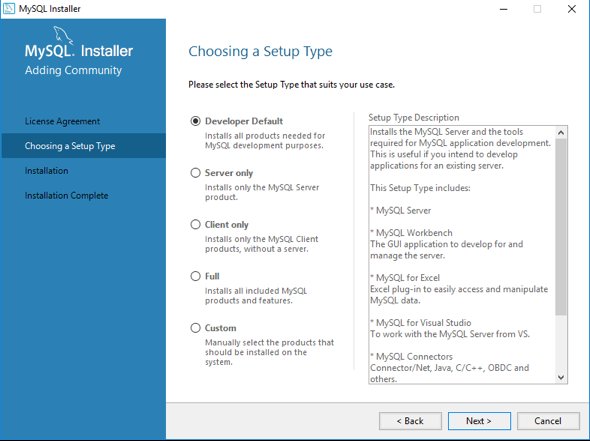
- Choose “Developer Default” option and click Next [Slide 8].
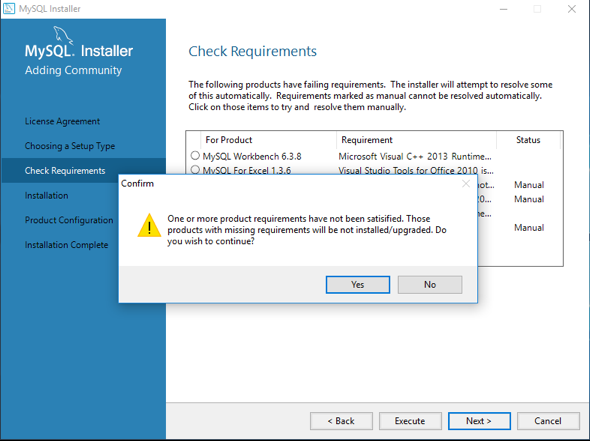
- Click Execute in the next screen [Slide 9]. Your Windows 10 computer may throw up a warning. Click Yes to continue [Slide 10].
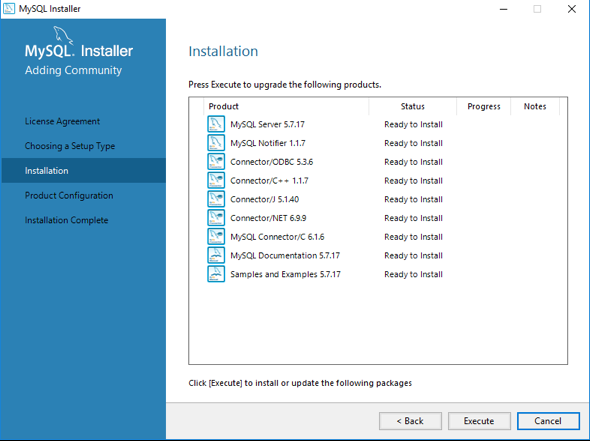
- The actual installation process is about to start. Click Execute on the next screen [Slide 11].
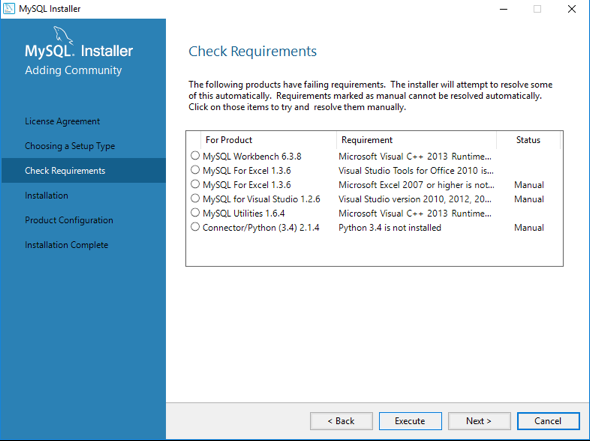
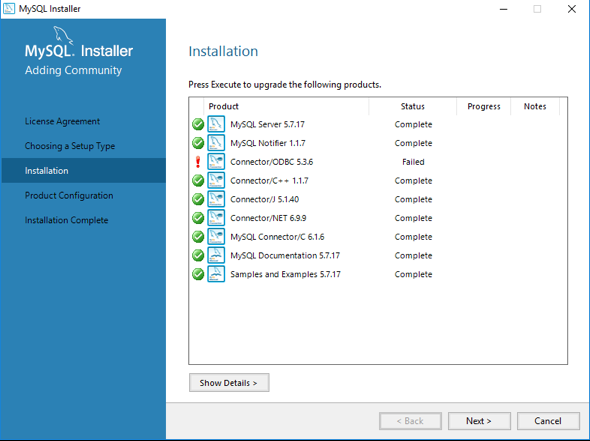
- The system will install the components one-by-one. If something is not installed, it would get an exclamation mark in front [Slide 12].
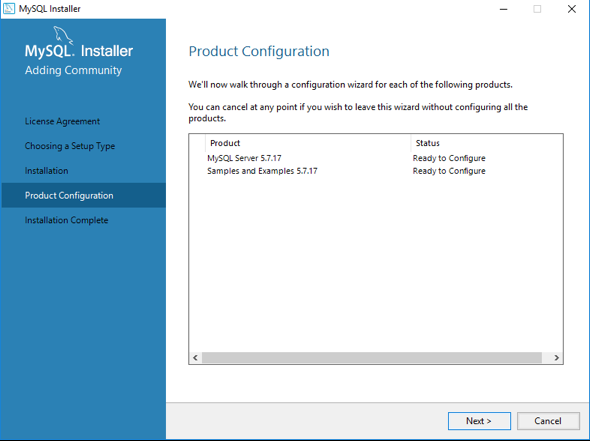
- It’s time to configure MySQL on your Windows 10 computer. Hit the Next button [Slide 13].
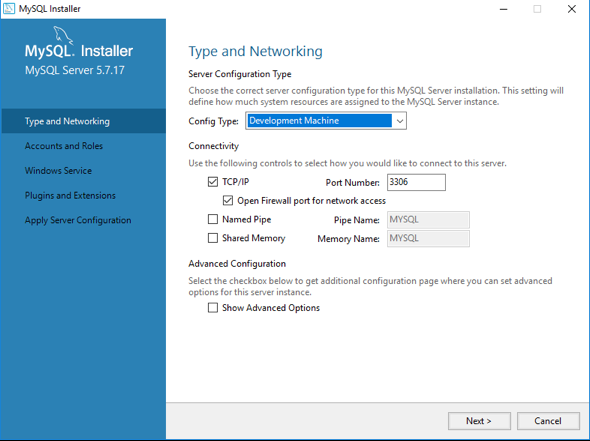
- The default values as shown in Slide 14 are fine. Click Next.
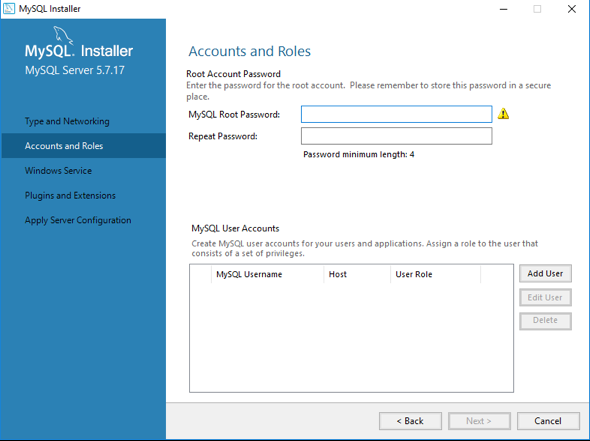
- Even though MySQL is installed on your local system and you would probably never connect it to the internet, you still have to set a root password. Type it twice in the text fields provided and click Next [Slide 15].
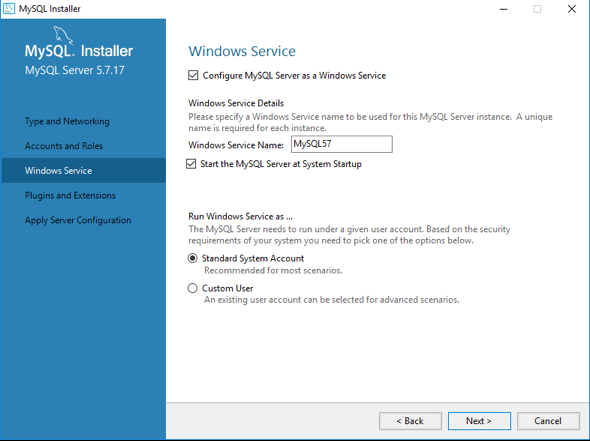
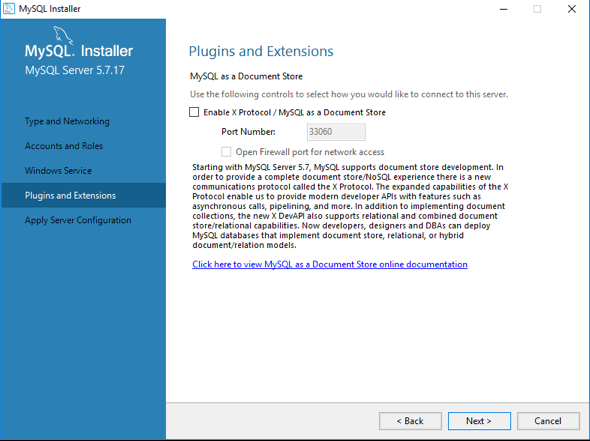
- Click Next in the next two screens [Slides 16 and 17].
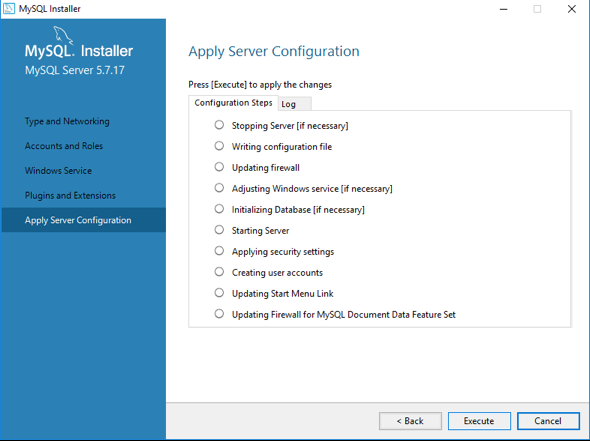
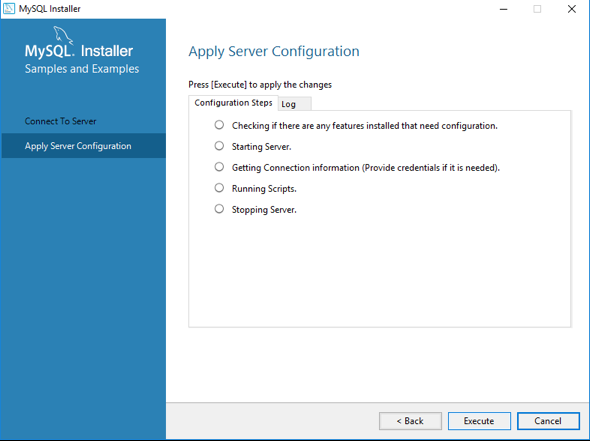
- MySQL database is ready for configuration and installation. Hit the Execute button [Slide 18]
- If you get a pop-up from the MySQL Installer that the configuration is taking longer than expected [Slide 19], simply hit the OK button to continue.
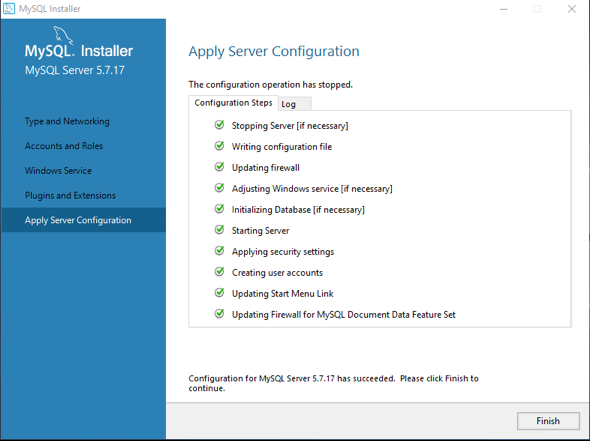
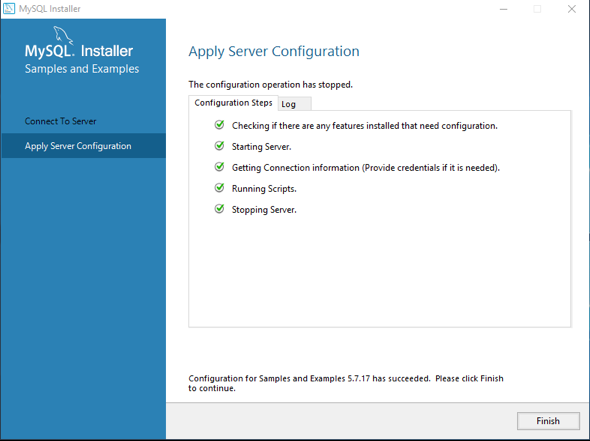
- Click Finish when the process is over [Slide 20].
- Click Next on the next screen [Slide 21].
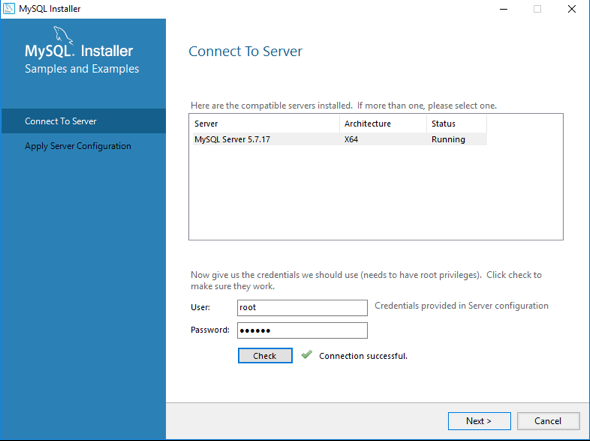
- You would now be asked the password you can set up for MySQL. The username is root [Slide 22]; click Next.
- Click Execute [Slide 23] and finally the Finish button on this screen [Slide 24] and the next one.
Testing the MySQL installation on Windows 10
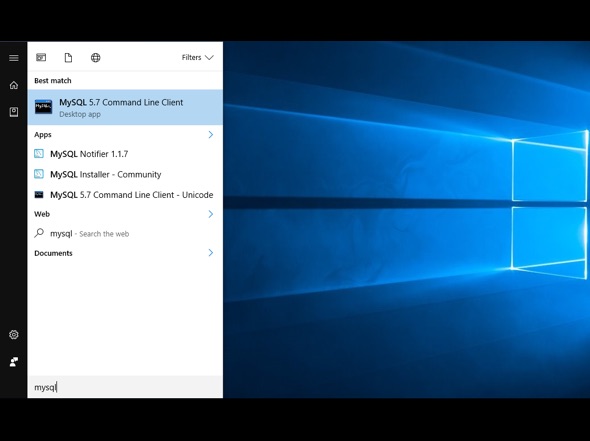
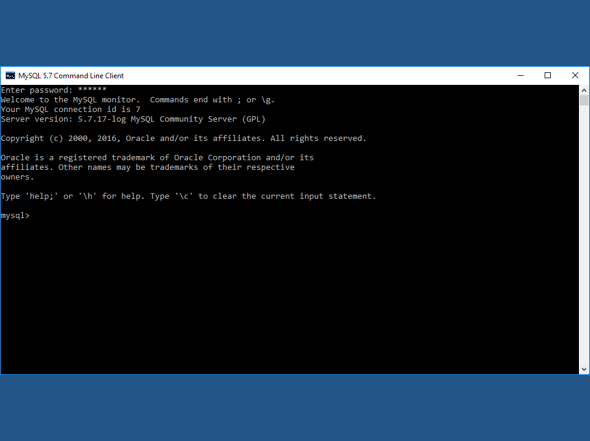
Click the Windows icon (bottom-left) and search for mysql. The MySQL Command Line Client (CLC) will be listed [Slide 25]. Click to launch the program.
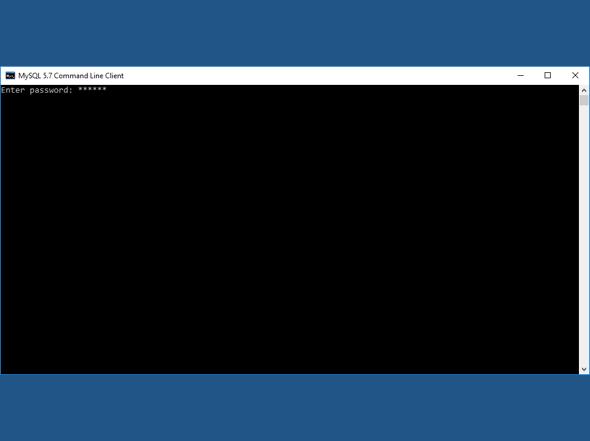
Type the MySQL password you had set up during the installation process [Slide 26]. You would now get to see the welcome message [Slide 27]. Congratulations. MySQL has been successfully installed and configured on your computer.
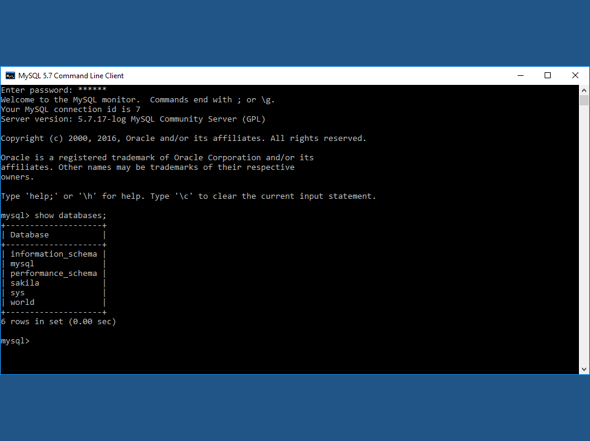
To view the databases in the application, issue the following command and the mysql> prompt [Slide 28]:
show databases;
All the databases that were created during MySQL installation will be listed [Slide 28].
Type quit to exit the MySQL CLC.
Do let us know if you face any problems during the processing of installing MySQL on Windows 10. Leave us a comment below.