I have been using Hotmail for many years and, as you can guess, this email is very important to me. In the past I have accessed the inbox through the Messenger program on Windows. I purchased a new laptop with Windows 7 yesterday. Could you let me know how to get Windows Messenger on this new computer?
Vibha Saxena
Windows Messenger program from Microsoft should already be installed on your new Windows 7 computer. You’ll find it under “All Programs” -> “Windows Live“. However, chances are that an upgrade is available so the moment you start the Messenger, a pop-up will ‘force’ you to get the latest version. Here is what happened with me on a brand new Sony VAIO.
Sponsored Links
Get Windows Live Messenger for Windows 7
As I mentioned above, there is no need to get the Windows Live Messenger program from scratch because an older version would probably exist on your computer. Locate it from the “Windows Live” programs list and follow the steps below. By the way, if the program is not pre-installed on your computer, get it for free from the Windows Live web site and jump to fifth step.
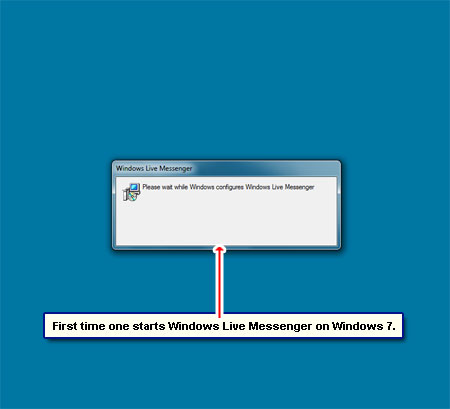
- The first time I started Windows Live Messenger, a small configuration window popped up – [Slide 1].
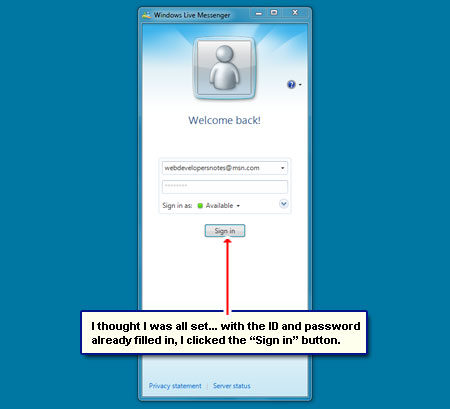
- The program was opened in a few moments and I thought I was all set. Since my Windows MSN ID and the password were already in place, I clicked on the “Sign in” button – [Slide 2].
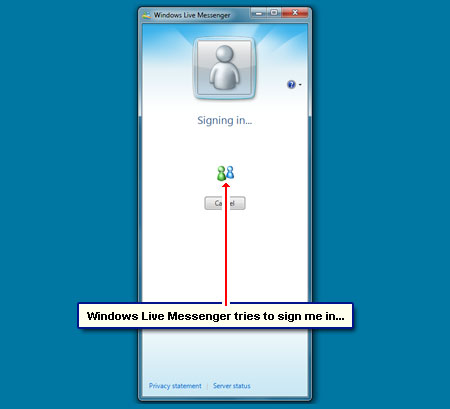
- There was an attempt to sign me in at the account [Slide 3] but I was shown a pop-up message instead.
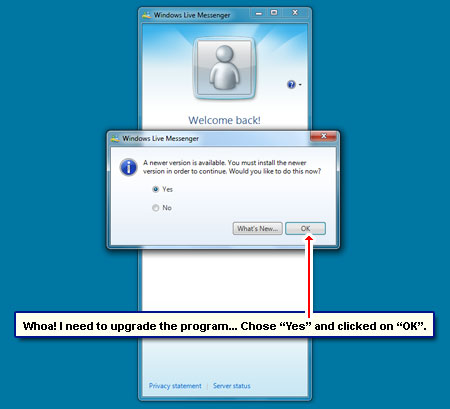
- Obviously, I wanted to upgrade, so chose “Yes” and hit “OK” – [Slide 4].
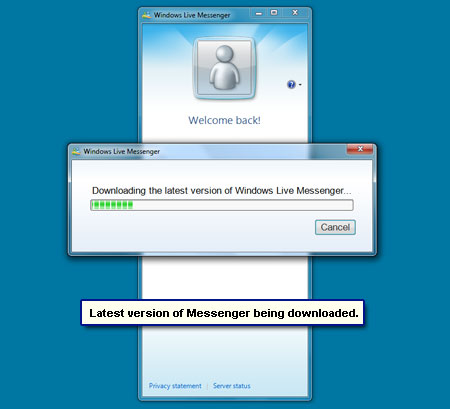
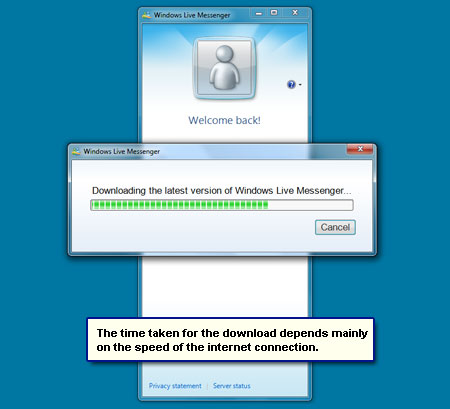
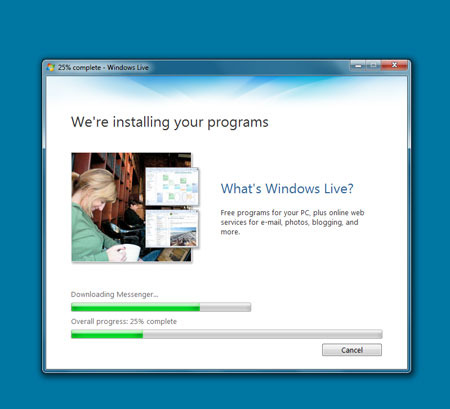
- It takes a bit of time to get the latest version of Windows Live Messenger – [Slides 5 and 6].
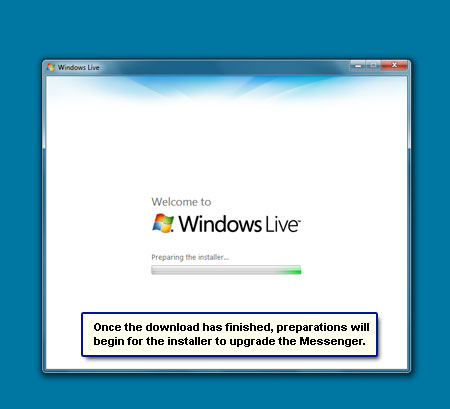
- After a quick display of the welcome screen, the installer begins to do its work – [Slide 7].
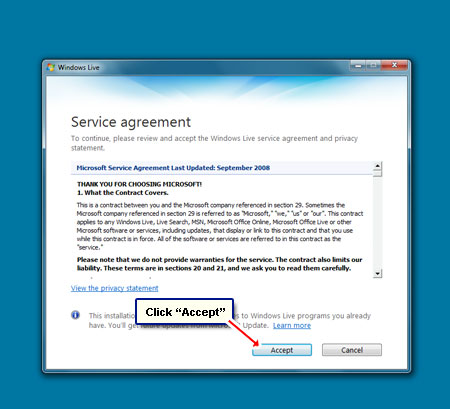
- I accepted the Windows Live service agreement – [Slide 8].
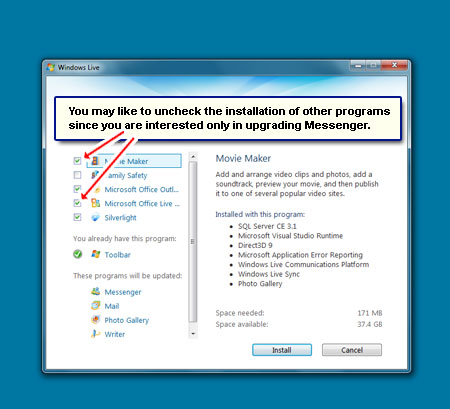
- Microsoft would want you to use as many of it’s programs as possible. But I was happy with what I had… simply needed to get Windows Messenger upgrade – [Slide 9].
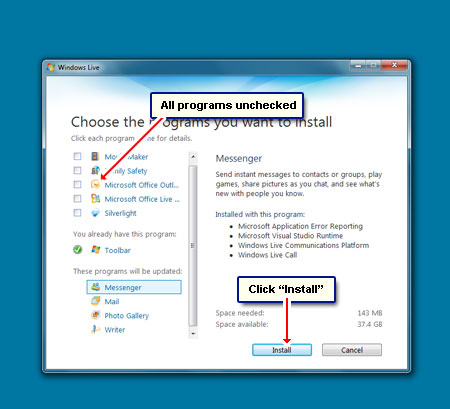
- Thus, you can uncheck other programs if you’re interested in getting only the Windows Messenger. Click “Install” to begin the process – [Slide 10].
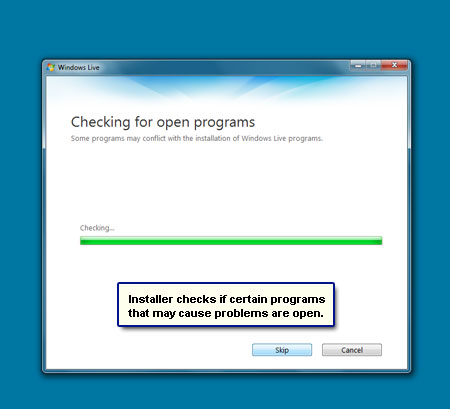
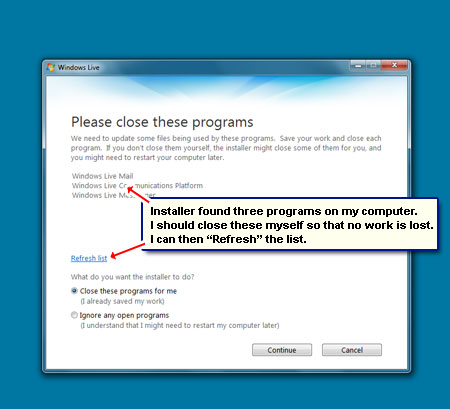
- The installer needs a ‘clean slate’ to do the job properly and so it lists some conflicting programs that are presently running. You can either close these programs manually (that’s what I did and will suggest you do the same) or the installer will close them for you – [Slides 11 and 12].
- As evident from slide 10, the installer not only upgrades Windows Messenger but also the Mail client, Photo Gallery and Writer programs and this can take a few minutes – [Slide 13].
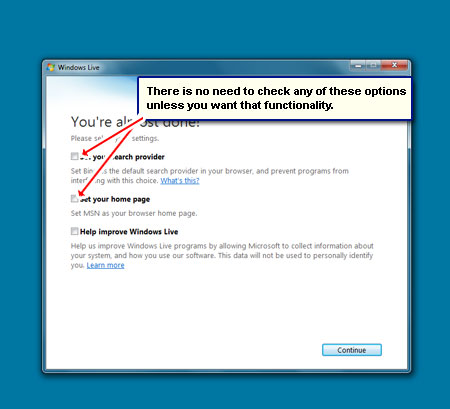
- In the “You’re almost done!” screen I made sure that all the options were unchecked because I didn’t want to change my search provider or the browser home page. However, you may choose these options if you like. Click Continue – [Slide 14].
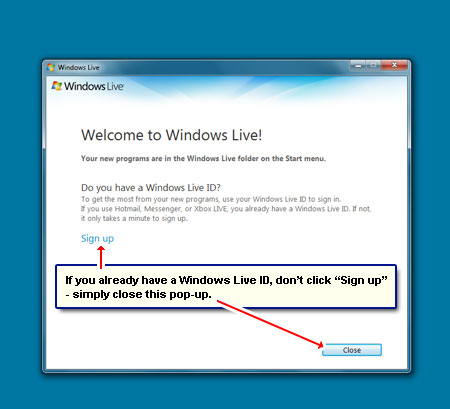
- In the next window, DO NOT click on the “Sign up” if you already have a Hotmail, Live or MSN ID… which you probably do! Simply close this pop-up- [Slide 15].
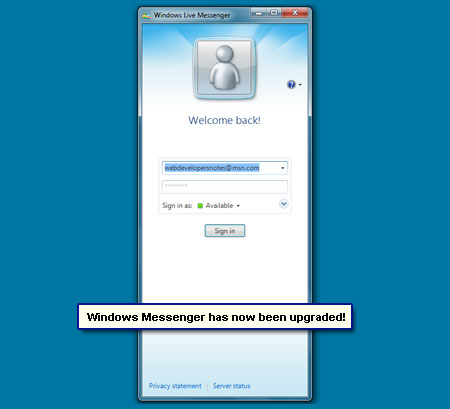
- The Windows Live Messenger program was upgraded successfully – [Slide 16]. Hurrah!


best ever .. i like this program