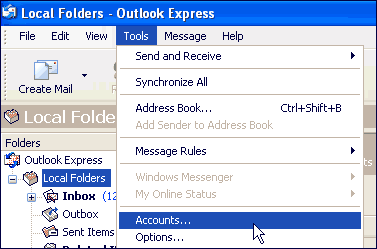
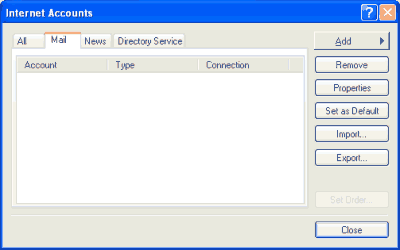
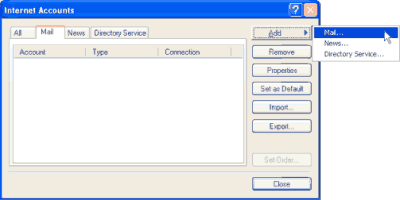
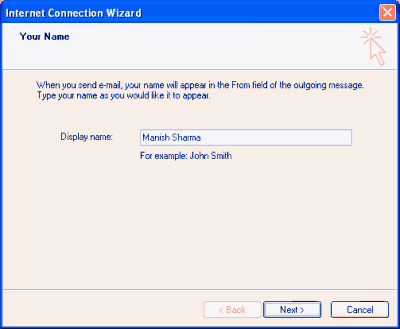
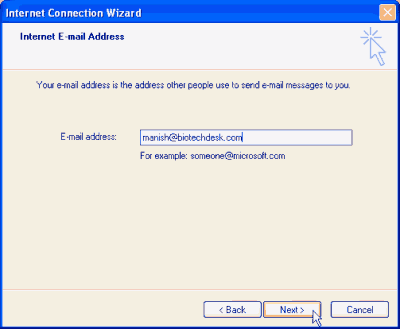
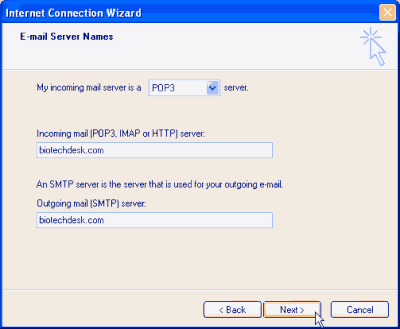
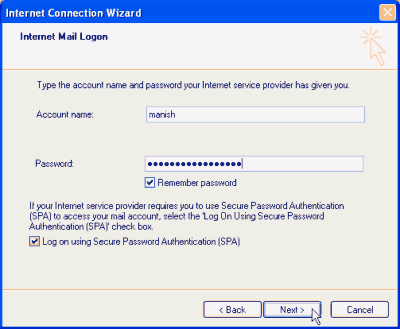
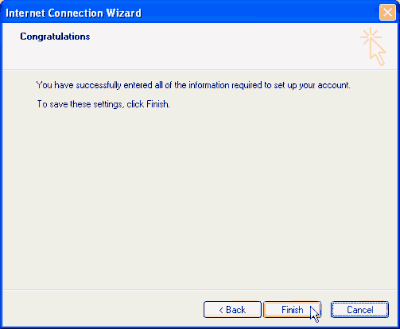
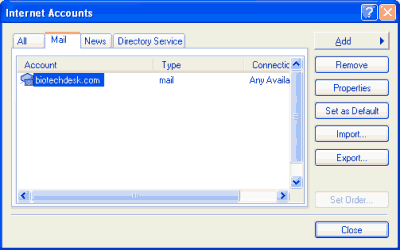
To send and receive emails using Outlook Express, we first need to set up an email account. This is accomplished by providing certain details to the software so that it can connect to the email server (the computer which stores the email), log in at the designated account and download/send all messages. You thus, need to create an account in Outlook Express to download and send emails.
This tutorial will lead you through the steps of creating new email accounts in Outlook Express and using these accounts to send and receive emails. The tutorial has been written using Outlook Express version 6.
Sponsored Links
IMPORTANT: You need to have an email account to use Outlook Express. If you don’t refer the following links for step by step instructions and screenshots on how to create a new email account – please choose the email service you want.
- Get an email address – How to
- Create your own email address
- Creating a email address on your domain name or web site
- Free Gmail account
- Get a Gmail address
- Create a Gmail email address
- Make Hotmail email account
- Create Hotmail account
Setting up new email accounts in Outlook Express – 10 Steps
Without further ado, let us look at the steps which we need to follow for setting up an email account in Outlook Express.
Note: When you open Outlook Express for the first time, you might be asked if you want to set it as a default email client on your system. Make sure you answer in the affirmative.
You can create several email accounts in Outlook Express. So if you have 6 email accounts on your web site, you can set up all these.
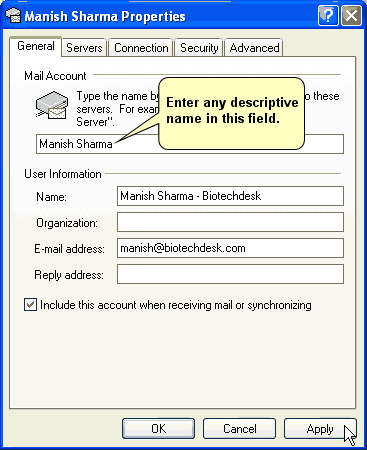
As I mentioned in point #9 (above), Outlook Express will refer to an email account by its server name. So if you have several email accounts on your domain, they would be referred to as yourdomain.com(1), yourdomain.com(2) etc. (or something similar). To make this more user friendly, Outlook Express gives you the option of changing these values.
Open the Internet Accounts pop-up once again by clicking on Tools and then Accounts. Make sure the Mail tab is in the front. Double-click on the account name. This brings up the Properties window of that account. Enter any descriptive name in the first field, as shown in the image below.
