WordPress consists of a suite of scripts written in PHP utilising the MySQL database to store information. It was initially developed as a blogging platform and has gradually taken the form of a full-fledged CMS (Content Management System) for web sites.
Based on our experience, it just makes more sense for us to develop client web sites using WordPress as we are no longer troubled by requests for small textual changes; the clients just do these on their own. Additionally, there are thousands of easy-to-install, mostly free plugins that extend the capabilities of the wonderful blogging tool.
Sponsored Links
You may have your own reasons to set up WordPress on the local computer. For us, the primary aim was to speed up theme creation. We also use the offline installation to teach clients the how to use WordPress.
Things you need to set up WordPress on your computer
As mentioned, WordPress uses PHP and MySQL which means you should have a web server running on your computer. Your local system, thus, has to act as both a client and server.
So you just can’t download WordPress and install it without doing the preliminary work. Here are the things you need and just like WordPress itself, all the following software are free!
- Web server: A web server software is needed to execute PHP scripts. Please refer how to install Apache on Windows 7. This step by step guide will help you set up the world’s most popular web server in less than 5 minutes!
- PHP: Probably the most famous of all the server-side scripting languages. FYI, PHP is what powers the Facebook web site (at the time of writing). Check the tutorial on PHP installation on Windows 7 which is a very simple affair.
- MySQL: WordPress stores all data in the MySQL database. This includes blog posts, pages, comments etc.; images are an exception. Anyway, installing MySQL on a Windows 7 computer is, once again, an easy task.
Downloading and unpacking WordPress
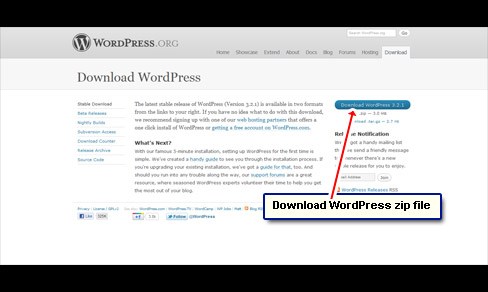
- WordPress is available in two formats .zip and .tar.gz; the former being more suited to Windows users. Click this WordPress download page link to launch the web browser and get the .zip file from the site [Slide 1].
- Move to the folder in which you downloaded WordPress and double-click on the zip archive to open the file which should reveal another folder inside. Double-click on that too.
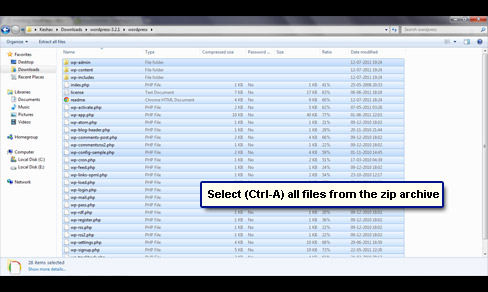
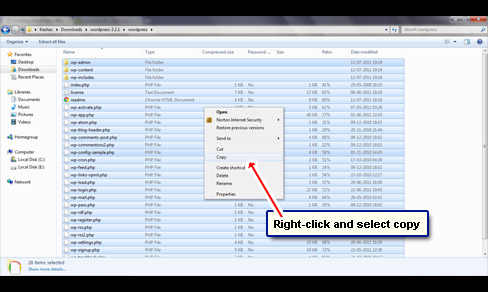
- You will now see all the WordPress PHP scripts and their supporting directories and files. Select everything (use the Ctrl-A keyboard shortcut) [Slide 2] and copy it on the clipboard (Ctrl-C) [Slide 3].
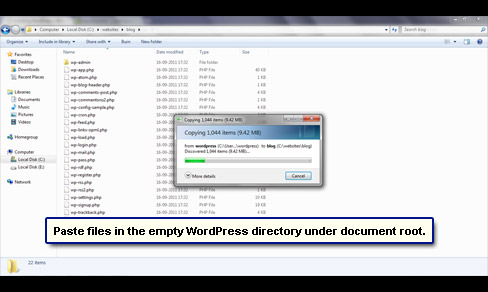
- Launch Windows Explorer and go to the document root of the web server, which would be C:\websites if you’ve followed my instructions on installing Apache and PHP. Create a new folder for WordPress in this directory. You can name this folder anything you want – something simple like blog or wordpress will suffice.
- Paste (Ctrl-V) the contents of the clipboard into this folder. This may take a minute as there are tons of files and folders [Slide 4].
Installing WordPress on your Windows 7 computer
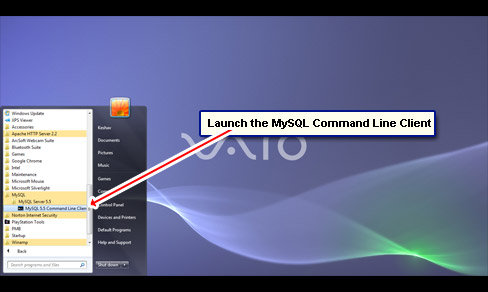
- Open the MySQL Command Line Client (CLC) from All Programs -> MySQL -> MySQL Server 5.5 [Slide 5].
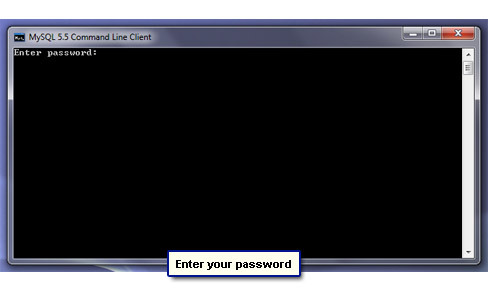
- Type in the password you had set for the MySQL server [Slide 6].
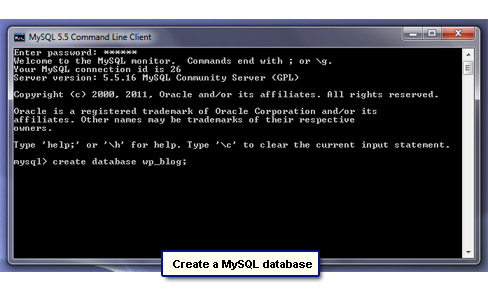
- Create a database for your WordPress installation by issuing the command below. Please note, you can name your database anything. I set it up as wp_blog [Slide 7].
create database wp_blog;
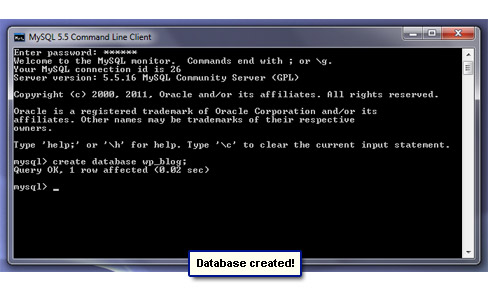
Hit the Enter key to get the confirmation from CLC (Query OK…) [Slide 8].
- Move to the folder in which you had pasted all the WordPress files and locate wp-config-sample.php file. Rename to wp-config.php.
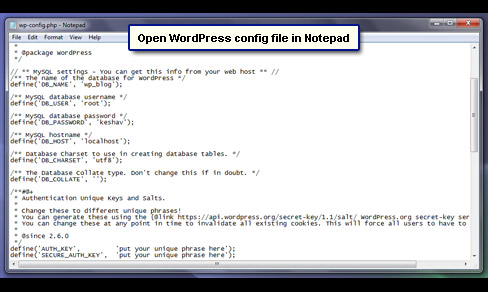
- Open this configuration file in Notepad. We need to put in our MySQL database login and other details [Slide 9].
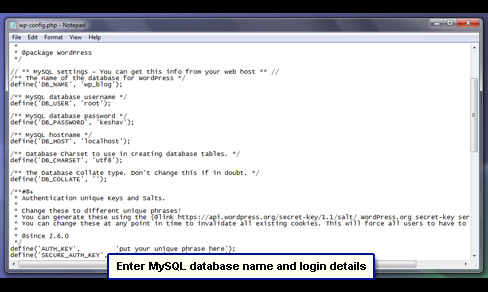
- We need to change three lines in this file and all of them are at the beginning. Remember the database you created in an earlier step? Type in the name where it says database_name_here.
- Similarly, replace username_here and password_here with the actual MySQL username and password [Slide 10]. Please look at slideshow in case of doubt as this has to be done correctly! Save the file and close the Notepad window.
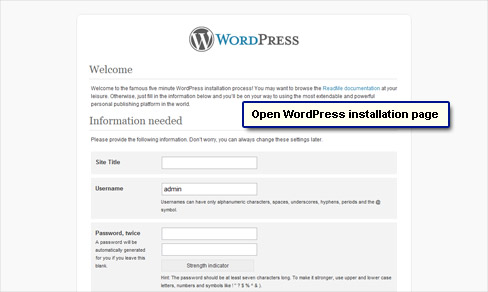
- Open browser window and type localhost/blog/wp-admin/install.php in the URL bar [Slide 11]. Replace “blog” in the URL if you have a different name for the WordPress install directory.
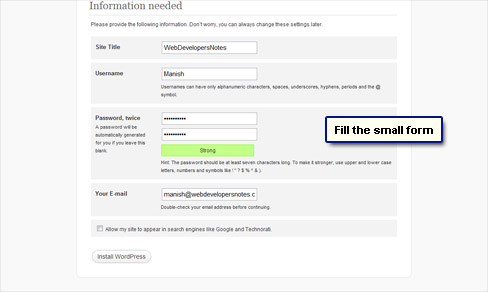
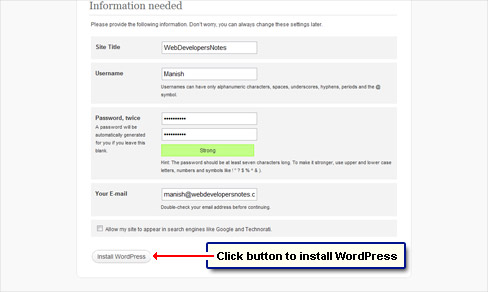
- Complete the small form. Type in a site title, username, password and an email address. This will be your WordPress login information [Slide 12]; and don’t worry too much on making the password ‘strong’ as this is an offline installation.
- Hit the Install WordPress button at the bottom! [Slide 13]
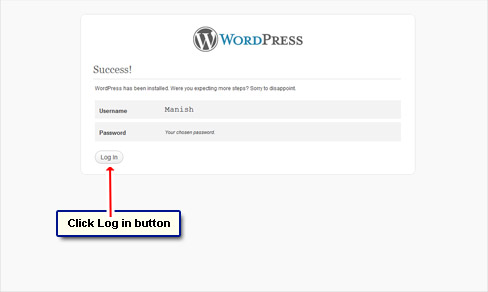
- WordPress will now be installed on your computer! It was that simple! [Slide 14].
Testing the WordPress installation
- Click on the Log In button or point your browser to localhost/blog/wp-login.php [Slide 15].
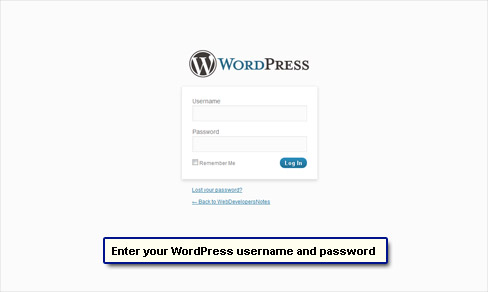
- Enter your WordPress username and password [Slide 16]. Uncheck “Allow my site to appear in search engines like Google and Technorati.”; it’s an offline blog after all.
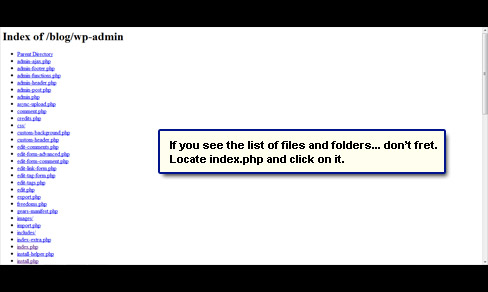
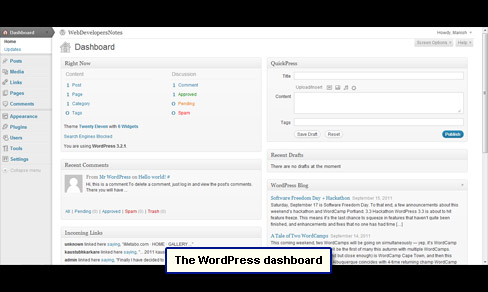
- Whoops! Do you see the folder contents (list of files and folders) instead of the WordPress dashboard page [Slide 17]? Don’t worry about it as we’ll fix that in the next step. For the time being, simply click on index.php to get the dashboard.
- You see the list of files instead of the dashboard because the Apache web server doesn’t recognise index.php as the ‘directory index’ file. We can correct this by editing httpd.conf. Open this file in Notepad and locate the following segment:
<IfModule dir_module>
    DirectoryIndex index.html
</IfModule>
We just need to make a small change. Go to the end of the middle line, put in a space character and type in index.php. The lines should now look like ones below:
<IfModule dir_module>
    DirectoryIndex index.html index.php
</IfModule>
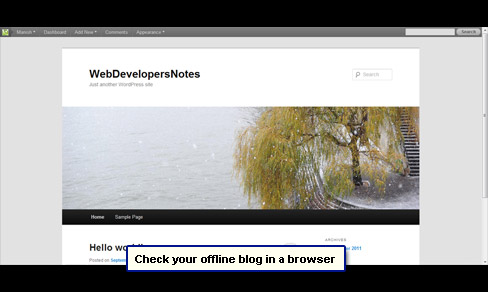
- FYI, your offline blog will be available at localhost/blog/ (where ‘blog’ is the WordPress install directory [Slide 18]. You’ll find a test blog post on the default theme.
This completes the installation of WordPress on a Windows 7 machine. You can now use it to create new themes or whatever you intended to use it for. Enjoy!