This step by step guide on how to install MySQL on Windows 7 is in continuation to the Apache and PHP installations on the same operating system. Before we begin, I like you to determine the system type – whether your computer is 32 bit or 64 bit.
This is important as I had a horrendous time in troubleshooting PHP-MySQL connection problem, details of which can be found at MySQL on a 64 bit Windows 7. You can know the system type from “Control Panel” -> “System and Security” -> “System“.
Sponsored Links
Instructions to install MySQL on Windows 7
The instructions with the screenshots have been presented in a slideshow below; please refer these when in doubt. I would be guiding you through the process of downloading MySQL and setting it up on your Windows 7 computer. The installation process is not very difficult, so don’t be intimidated by the large number of slides; I just wanted to be thorough.
Download MySQL installer file
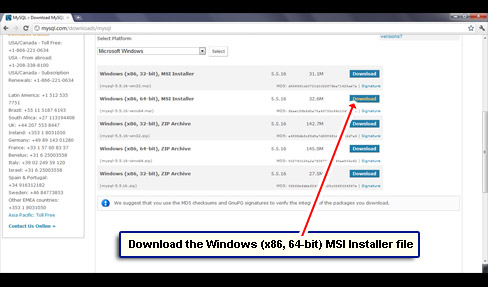
- Be sure to choose the MySQL installer that corresponds to your system type. For me, it was the Windows (x86, 64-bit) system file, mysql-5.5.16-winx64.msi, which was 32.6 MB in size.
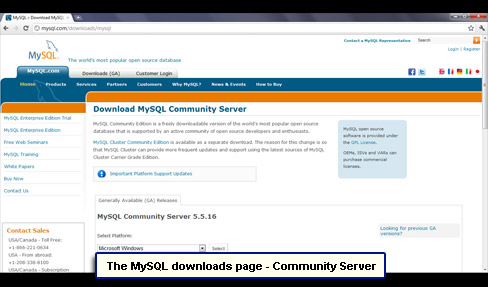
- The direct link to the page from where you can download MySQL is http://www.mysql.com/downloads/mysql/; please click on that link to load it in a browser [Slide 1]. Scroll down and locate the MSI installer file corresponding to your system type – 32 bit or 64 bit. Click the Download link/button beside it [Slide 2].
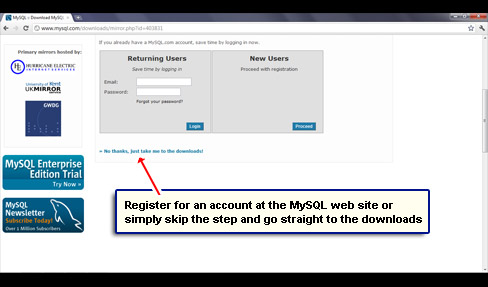
- You will be asked to register or sign in at your account. Registering has it’s benefits, but if you are in a hurry, simply click on the No thanks, just take me to the downloads! link [Slide 3].
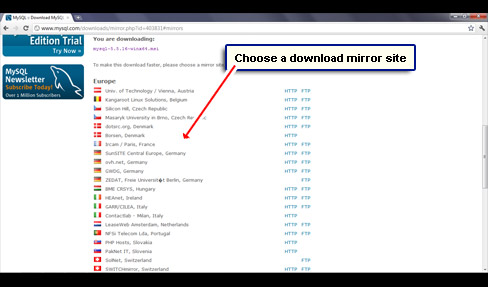
- A list of sites from where you can download the MySQL file will be displayed [Slide 4]. Choose a ‘mirror’ which is closest to your geographical location to get the file fast. FYI, there is no problem in choosing a site located in Europe even though you are in the United States.
Setting up MySQL and making it work on your Windows 7 computer
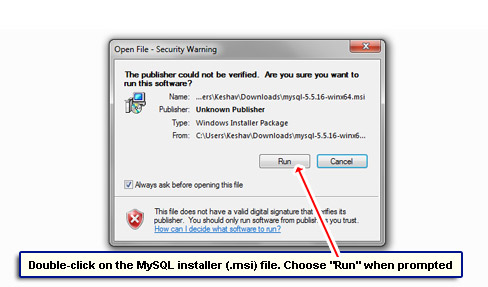
- Move to the folder to which the MSI file was downloaded and double-click on it to start MySQL installation – click “Run” when prompted [Slide 5].
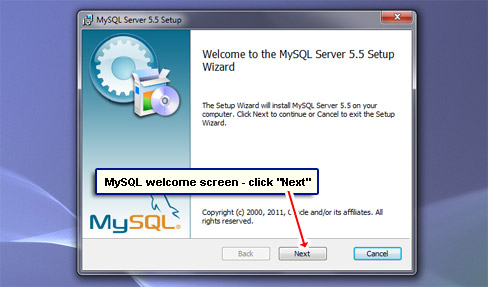
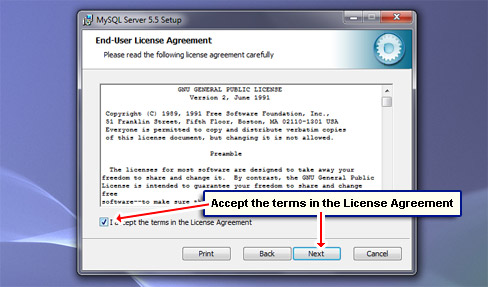
- Click “Next” button in the introductory window [Slide 6]. Accept the terms in the License Agreement by checking the box and hit “Next” [Slide 7]
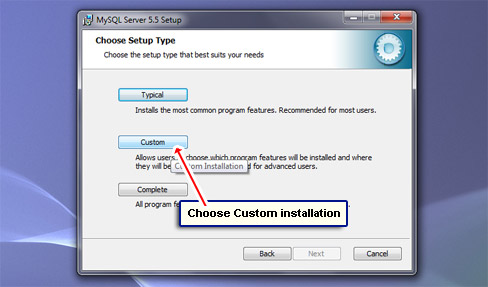
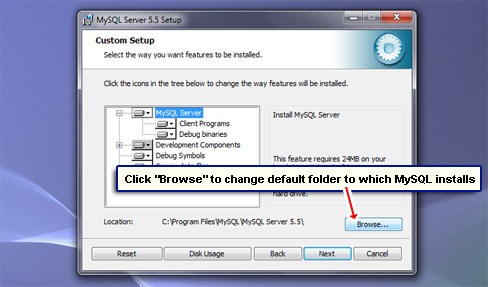
- In the following screen, select Custom installation which will allow you to specify the folder to which MySQL will be installed [Slide 8]. FYI, choosing Typical will put MySQL deep down in the “Program Files” folder.
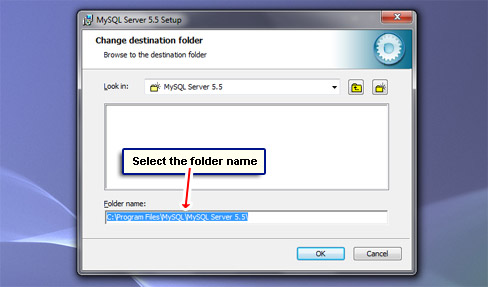
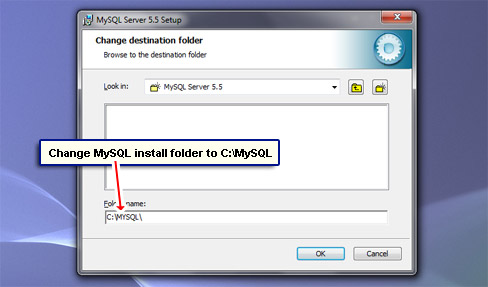
- Click the “Browse” button [Slide 9] and enter C:\MySQL in the Folder name field. Hit “OK” when done [Slides 10 and 11].
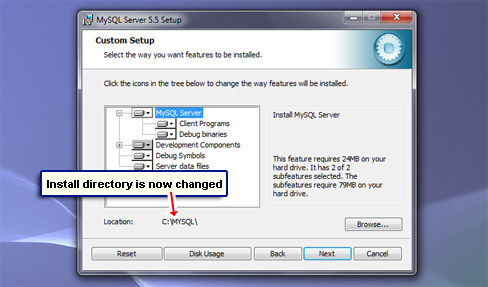
- The installer will change the MySQL installation folder to the one specified by you – C:\MySQL [Slide 12].
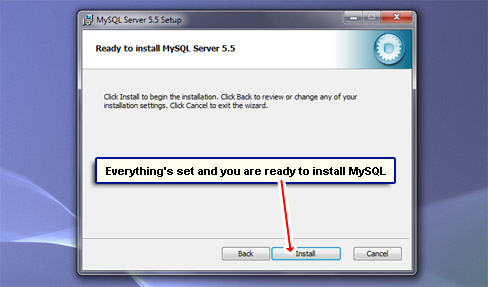
- You are now ready to install MySQL on Windows 7 operating system. Click “Install” [Slide 13].
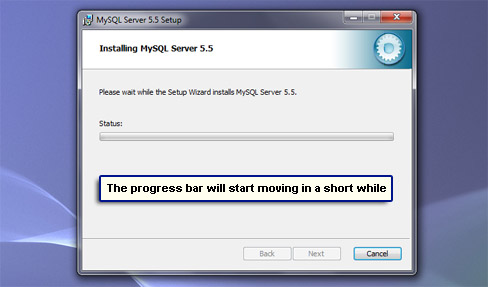
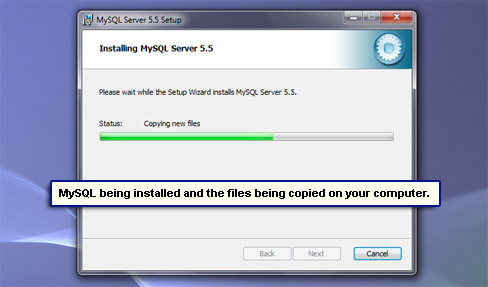
- It would take some time for the progress bar to start moving… be patient [Slides 14 and 15].
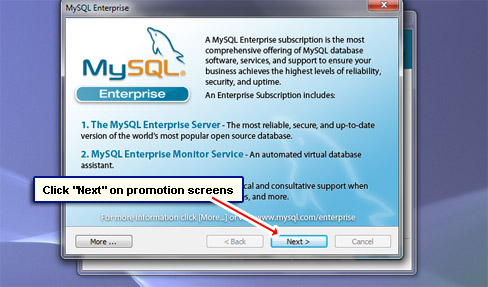
- You may also get messages along the way – simply click on “Next” to proceed [Slide 16].
- When the process finishes, you’ll get to see the final screen. Congratulations – MySQL has been installed on your computer. You are now prompted to Configure the MySQL server; click “Finish” [Slide 17].
Configuring a MySQL instance
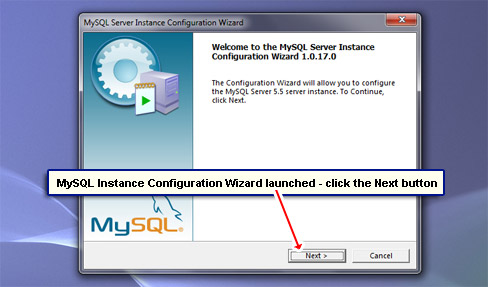
- The MySQL Instance Configuration Wizard will now launch [Slide 18]; click “Next” to proceed. Please note that you cannot use MySQL until an instance has been configured, so these steps are quite important.
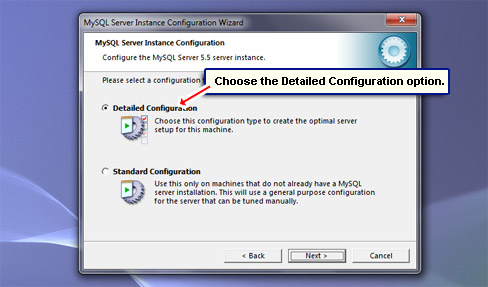
- Select “Detailed Configuration” option [Slide 19].
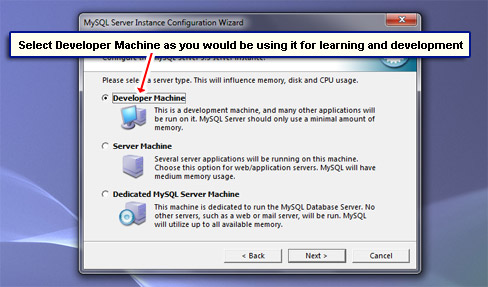
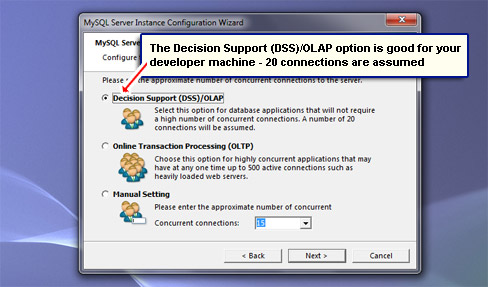
- Choose “Developer Machine” [Slide 20].
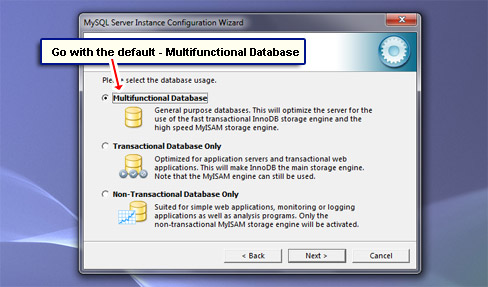
- I suggest going ahead with “Multifunctional Database” unless you know what you are doing [Slide 21].
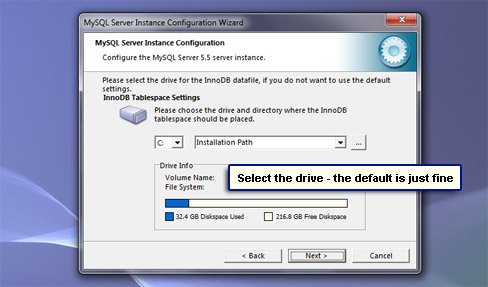
- In the following screen, don’t mess with the default values and click “Next” [Slide 22].
- The same goes for the subsequent screen; click “Next” [Slide 23].
- For the networking options configuration, put a check mark in front of “Enable Strict Mode” if it’s not there [Slide 24].
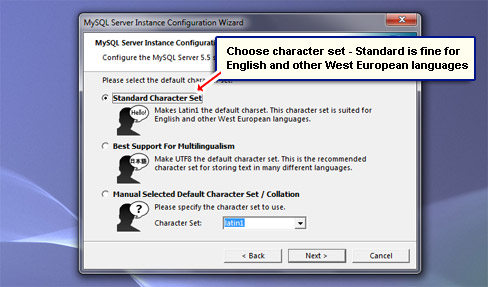
- Move ahead with the “Standard Character Set” [Slide 25].
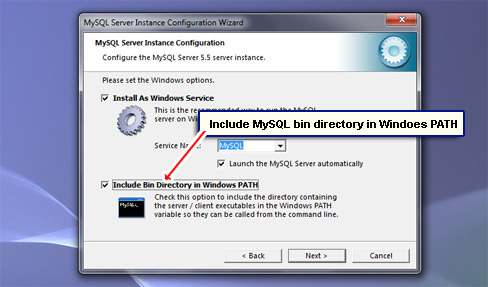
- Yes, it’s recommended to install MySQL as a Windows service and have the system include the MySQL bin directory in the Windows PATH variable [Slide 26].
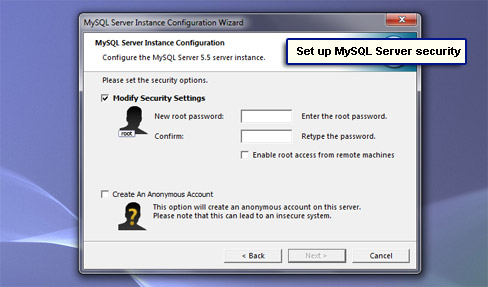
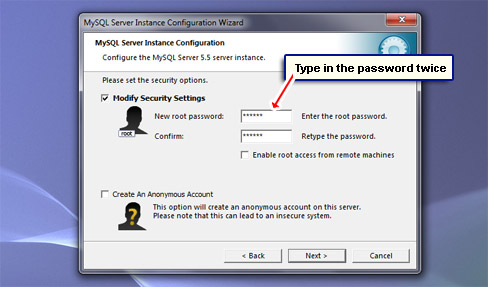
- The password for the MySQL server instance has to be typed in twice [Slides 27 and 28]. Remember to keep a note of it and don’t lose it. The password doesn’t have to be very strong because, I suppose, you would be using MySQL on your computer for learning/development and NOT production.
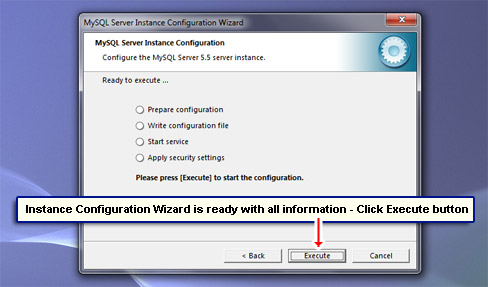
- The configuration wizard has received all the information it needs and is ready to create a MySQL server instance. Click “Execute” button [Slides 29 and 30].
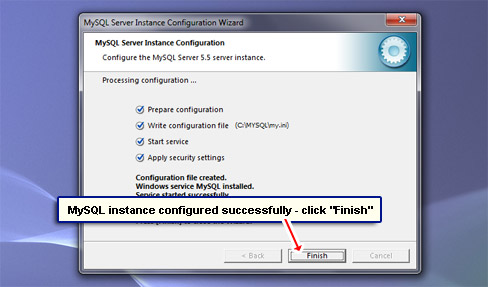
- Ignore messages from the anti-virus program and answer in the affirmative when the Windows 7 UAC (User Account Control) asks whether you want to run MySQLInstanceConfig.exe file. Generally, the instance should be configured without any problem.
However, if the MySQL Instance Configuration Wizard becomes unresponsive (the window shows a ‘Not Responding’ message), launch the Task Manager either from the Control Panel or use the old Ctrl-Alt-Del key combination and kill the program. Now go to C:\MySQL\bin folder and double click on MySQLInstanceCOnfig.exe file to launch the wizard once again.
Checking the MySQL installation
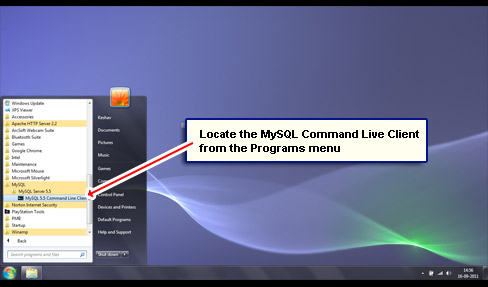
The easiest way to check MySQL installation and confirm that it’s working properly is to use the MySQL Command Line Client. Fire it up from “All Programs” -> “MySQL” -> “MySQL Server 5.5“[Slide 31].
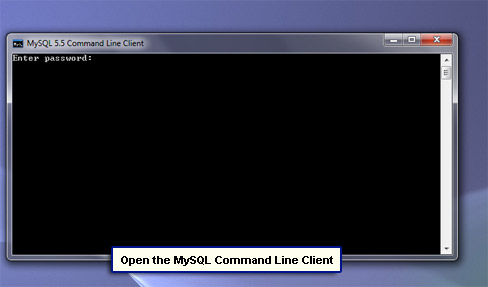
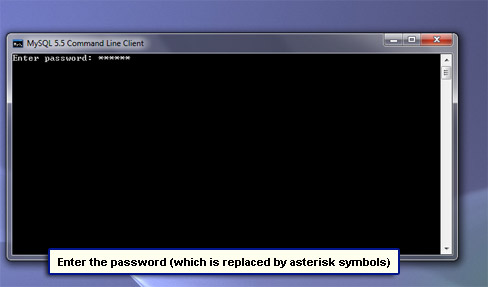
Now enter the MySQL password – the characters you type will be replaced by the asterisk sign (the password is not shown for security reasons – obviously) [Slides 32 and 33].
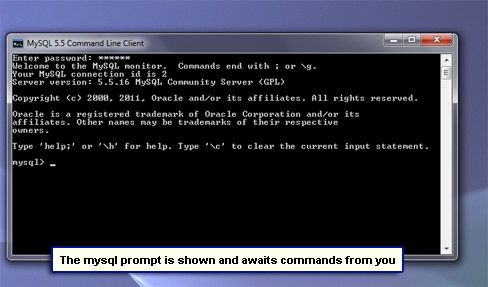
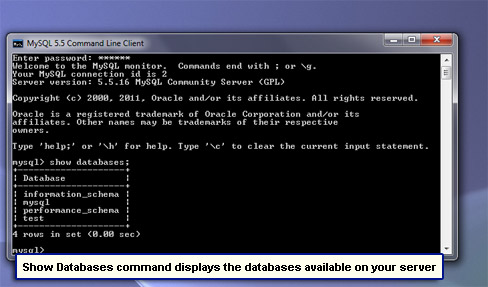
The MySQL client displays the mysql> prompt on successful login [Slide 34]. Type show databases; (the semi-colon at the end is not a typo) and hit the enter key. This simple SQL command instructs MySQL to display the names of the installed databases and there should be four of these. Hurray! Rejoice because you have been able to correctly install MySQL on Windows 7 [Slide 35]!
Configuring PHP to work with the MySQL installation
The newly installed MySQL Server will run on it’s own without any problem and is an ideal platform to learn the SQL (Structured Query Language). However, if you want to use it with PHP, changes have to be made to the php.ini file. The appropriate ‘marriage’ of MySQL and PHP is essential for setting up program suites such as WordPress… and I’m sure many of you would be interested in that, right?
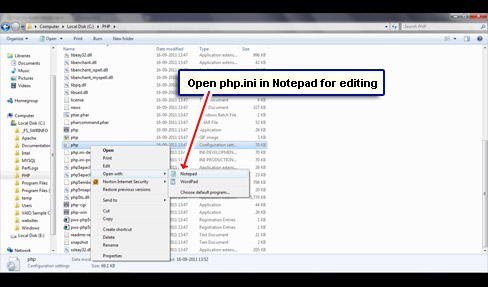
The PHP configuration file (php.ini) is located in the install directory which should be C:\PHP if you have followed my instructions on how to install PHP on Windows 7 computer. We now have to modify this file so that all the three, Apache, PHP and MySQL, work together.
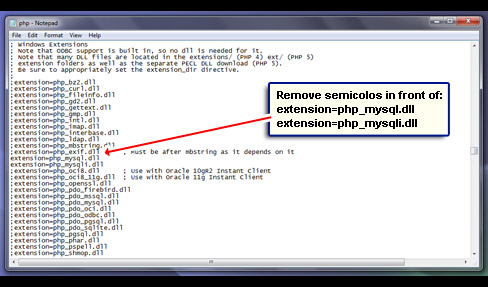
Move to the PHP install folder, right-click on php.ini and open it with Notepad [Slide 36]. Using the ‘Find’ feature (Ctrl-F or Edit -> Find), locate the Dynamic Extensions section. Scrolling down, you should see a whole bunch of PHP extension lines. Remove the semicolon in front of the two mysql extensions (listed below) [Slide 37].
extension=php_mysql.dll
extension=php_mysqli.dll
Save the php.ini file and (IMPORTANT) restart the computer – this will give you time to stretch your legs. By the way, as I had mentioned in the beginning, you need a web server for PHP to work – read install Apache on Windows 7 for instructions.
Finally, if you have already been using MySQL on another computer you can quickly transfer databases and tables using mysqldump and the mysql programs.