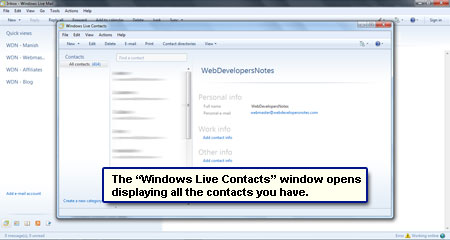
Windows Contacts on Vista and Windows 7 is akin to the Address Book found in the earlier versions of the Windows operating system and is used by the default email programs (Windows Mail and Windows Live Mail) to ‘auto-fill’ and/or ‘suggest’ the recipient’s email address. Its function is to store data of the people you correspond with – their names, contact details such as email and postal addresses, phone and mobile numbers etc.
With hundreds of entries in Windows Contacts, it becomes imperative to save a copy of this important data by creating a backup. On this page I shall tell you how to quickly export the Windows Contacts on Vista or Windows 7 using Windows Live Mail email program.
Sponsored Links
Instructions on how to export Windows Contacts – Back up the Windows 7 (or Vista) address book
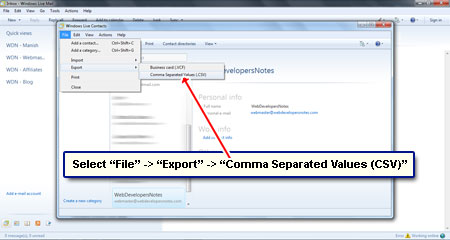
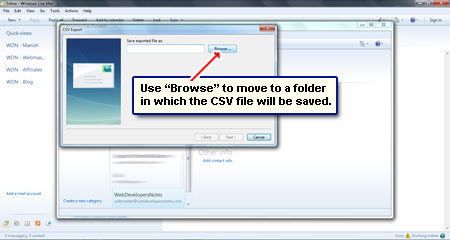
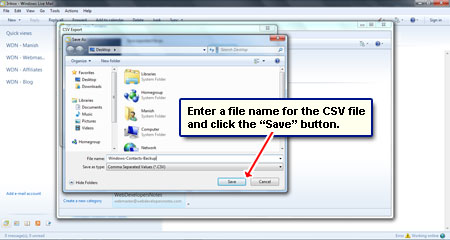
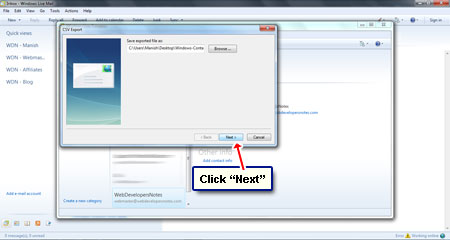
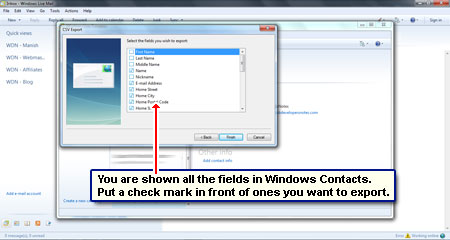
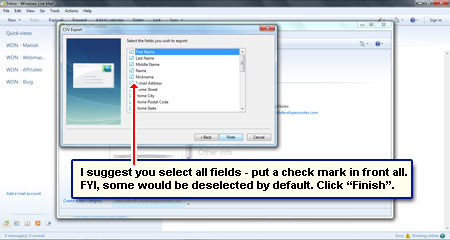
We shall be using the Windows Live Mail email client to create a back up of the Windows Contacts data. Though this is a simple process, I have included screenshots which you will find in the slideshow so that even beginners can follow the steps easily. Please note, that we will export Windows Contacts to Comma Separated Values (CSV) format. FYI, the resulting CSV file is plain ASCII text than can be viewed and imported in many different programs including Microsoft Excel and even databases such as MySQL.

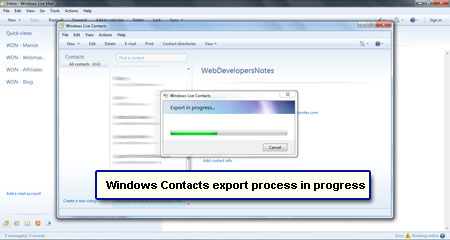
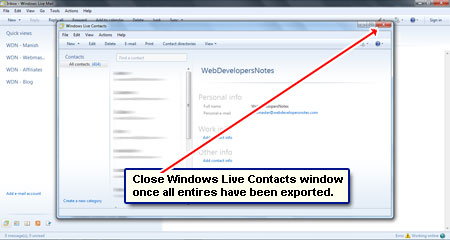
Now wasn’t that easy? You have successfully been able to export Windows Contacts from a Windows 7 computer through the Live Mail email program. You can view the resultant CSV file in MS Excel (if you have it) or port the data to another email client on a completely different operating system as long as it can read and import CSV entries. Please remember to take regular backups of Windows Contacts to prevent any loss of information in the event of hard disk crash or virus attack.