
You can create and add signatures to all outgoing emails from Windows Mail. The signatures can be simple text with your name and contact details or more complex and visually appealing with images and special fonts.
In this article I will show you step-by-step how to create simple text based email signatures for the Vista Windows Mail email client. The next page has details on how to add color and images to your email signatures but do go through this once so you understand the procedure.
Sponsored Links
Adding a new signature in Windows Mail
Click on “Tools” to bring up its menu and select “Options”.

This displays a pop-up window with a whole lot of tabs. The one we are interested in is the “Signatures” tab. Click on it to bring it in front.
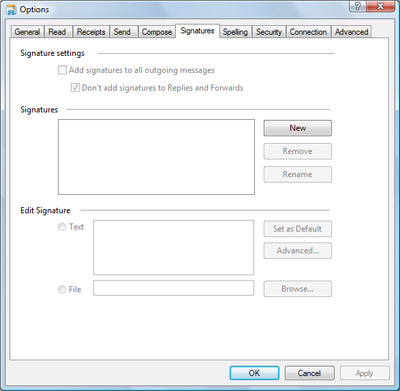
Hit the “New” button which create a blank template signature named “Signature #1“.
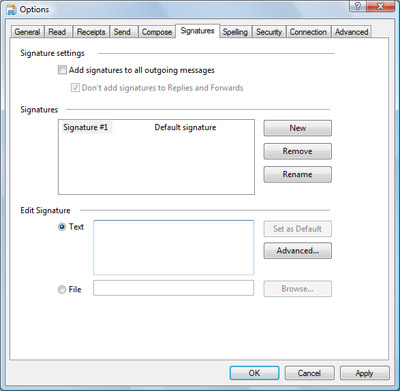
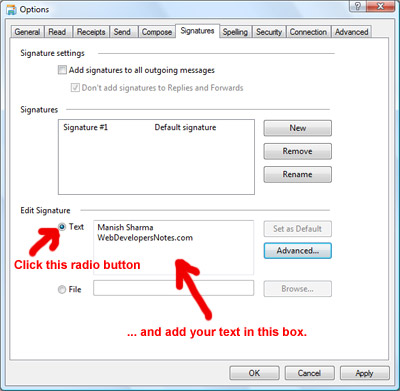
Now move down to the “Edit Signature” section and ensuring the “Text” radio button is selected, start entering the text you want in the email signature.
The first signature you create is the default and will be used on any email messages you compose. You can also give a more descriptive name to this signature.
Putting signatures on all outgoing emails in Windows Mail
In Windows Mail you can turn on the feature of adding your signature to all outgoing emails. Once you have created your first email signature, go to the “Options” window (Tools -> Options) and put a checkmark in front of “Add signatures to all outgoing messages” and uncheck “Don’t add signatures to Replies and Forwards“. This ensures your signature is included in all outgoing emails including replies.
Giving each email account its own signature
Windows Mail lets you have several email signatures – both simple text and more complex ones with images and fancy fonts. Furthermore, you can specify which signature to use for which email account.
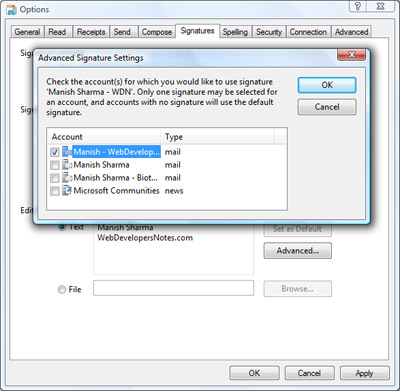
To do this, first select a signature and then click on the “Advanced” button. This brings up a small window that lists all the email accounts configured in you Windows Mail software. Put a checkmark in front of the email address for which you want to use the signature.
Contents of an email signature
Here is a quick rundown of things you can put in your email signature:
- Your name
- Your contact details – can include your full postal address, phone and fax numbers, email addresses
- Web site address – This is something you should include – helps to spread the word
- The logo of your company -as mentioned above, you can put images in email signatures
- Any ongoing promotions of your company – don’t leave a single opportunity to sell 🙂
If you want to create fancy email signatures with images, colors and special fonts, I suggest you read – Email signatures with images, colors and fancy fonts.