This is in continuation to the previous article in which we begin the process of making a blog on Google Blogger service. Now that you’ve created a Google account and have had it verified, it’s time to create your blog.
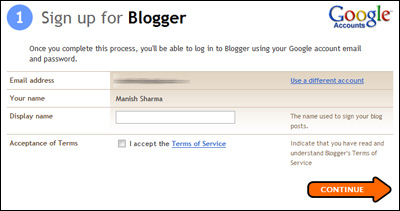
Note for people who sign in through their Gmail account (doesn’t concern those who’ve created a fresh Google account): You would need to enter a Display name which is used to sign your blog posts – refer image below.
Sponsored Links
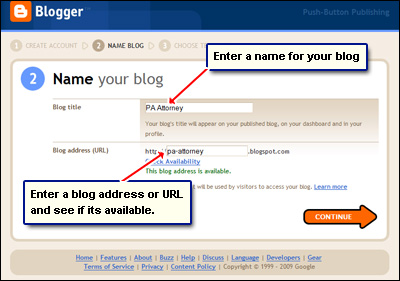
Your blog name and address – URL
What you enter in the fields on the next page is important.
First provide a name to your blog and then select a URL (or web site address) for it. Please note that you will not be able to change the URL once the blog is created so be judicious and think twice before confirming your selection.
The “Check availability” link will let you know if the blog address is available. As you may know, URLs or web addresses need to be unique – you cannot use one which has been taken by someone else. When you do find a suitable blog address, click on “Continue” to move forward.
Please note: Your blog address at Google Blogger will be http://YOUR-CHOSEN-ADDRESS.blogspot.com.
Choose a design template for your blog
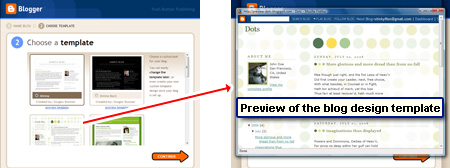
We are almost done. The next page lets you pick a design template for you blog web site and there are many to choose from; click on the “preview template” link to see how it looks – refer images below.
Note: the preview opens in a smaller pop-up window. Once you’ve made your selection, hit the “Continue” button.
Congratulations! You have been able to successfully create a blog web site and now you can start blogging!
