This page contains step by step instructions on how to add your Gmail account to Windows Mail and store Gmail emails on your computer so that you can read them even if you don’t have an active Internet connection.
Enabling POP on your Gmail account – preliminary set up procedure
Gmail offers both POP and IMAP email access. We shall use the POP option to set up and configure Windows Mail for your Gmail email address.
Sponsored Links
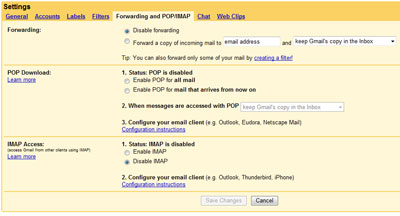
The first step involves enabling POP access in Gmail and for this, you need to login at your account. Click on the “Settings” link at the top right.

Click on the “Forwarding POP/IMAP” link which displays the options for email forwarding and POP/IMAP. In the “POP Download” section, select “Enable POP for all mail” or “Enable POP for mail that arrives from now on”. So if you want to get all emails from your Gmail account to your computer, check the “Enable POP for all mail”.
The next step is to select what Gmail should do with the email – retain it in the inbox, archive or delete.
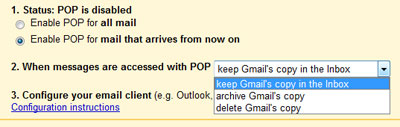
Once you have made your choices, click on the “Save Changes” button at the bottom and log out of your Gmail account. This configuring process completes the enabling of POP download and the next is to add and set up this on Windows Mail.
Configuring the Gmail account on Windows Mail
The process of configuring a Gmail account on Windows Mail is similar to adding a new email account on the email client.
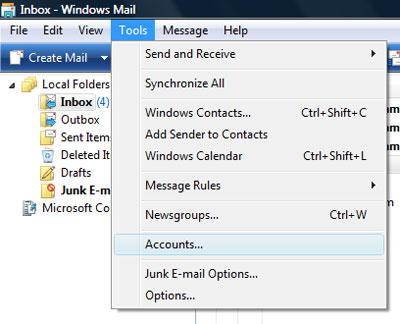
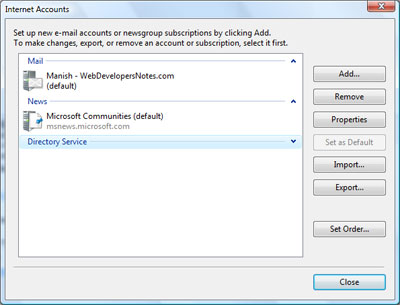
Start Windows Mail, and go to “Tool” -> “Accounts”. In the pop-up Internet Accounts window, click on the “Add Account” button.
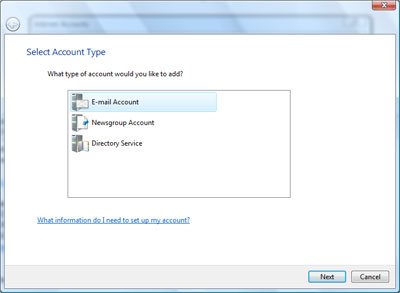
Now select “E-mail Account” and hit the Next button.
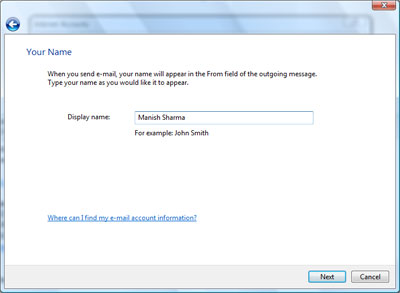
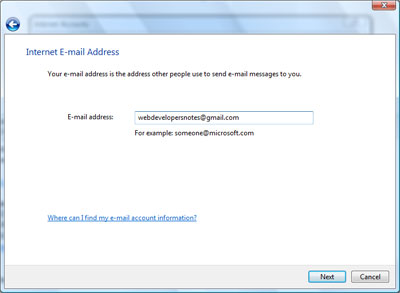
Enter your name in this window and your Gmail email address in the next.
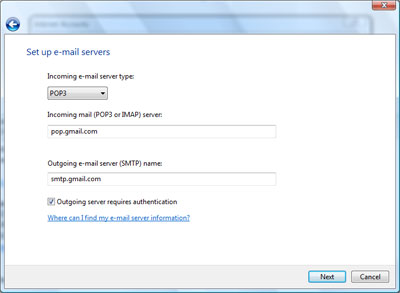
In the next window you will be asked the e-mail server information. Enter it exactly as shown in the image below, i.e., select the POP3 option, enter pop.gmail.com in the “Incoming e-mail server type” field, smtp.gmail.com in the “Outgoing e-mail server (SMTP) name” field and make sure “Outgoing server requires authentication” is checked.
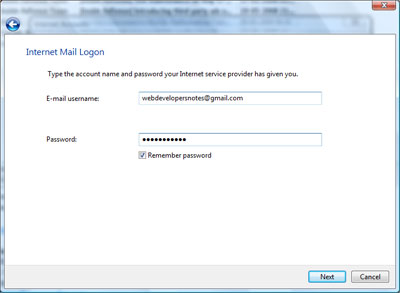
In the following window, you will be asked the login details of your Gmail account. The username is your full Gmail account email address.
The next “Congratulations” window confirms the successful setup of your Gmail account in Windows Mail. Make sure the “Do not download my e-mail at this time” carries a check mark because we have one more step to go through.
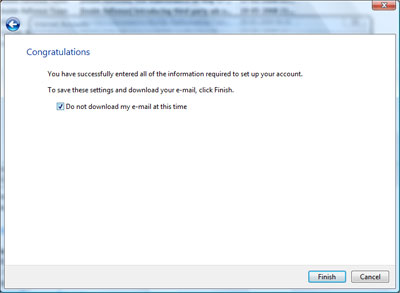
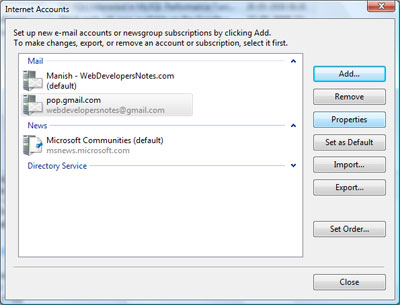
Click on the “Finish” button which will bring you back to the “Internet Accounts” window. Do not close this window because we now we need to configure this new email account.
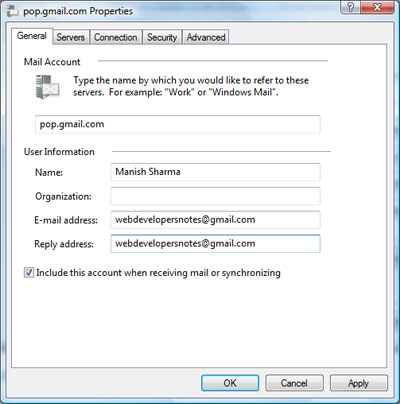
With the new Gmail account selected, click on the ëProperties” button.
Under the “General” tab, put your Gmail email address in the blank “Reply address” field.
Now go to the “Advanced” tab. Enter 465 in the “Outgoing mail (SMTP)” field and put a check box in front of “This server requires a secure connection (SSL)”. Also make sure there is a check for the “This server requires a secure connection (SSL)” under the Incoming mail (POP3) section (the field value will automatically change to 995) – refer image below – ensure all the values/fields are exactly the way as shown in the image.
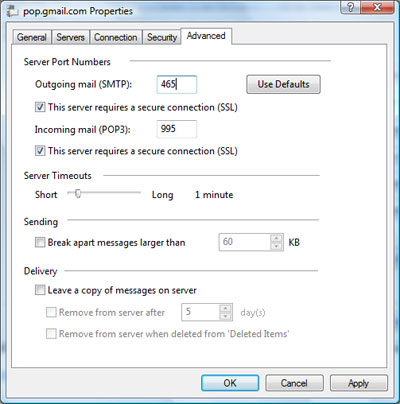
Click on the “Apply” and then the “OK” button.
Your Gmail account setup and configuration is now complete and you are ready to send and receive emails from Windows Mail.