This is the first in the series of articles and explains in detail how to install the Apache web server on Windows 10 operating system. The instructions are accompanied with screenshots which will guide you at each step to prevent any mistakes.
And as always, if you are completely new at all this stuff, you’ve come to the right place. We believe that our instructions are clear and to-the-point that even newbies would be able to set up Apache on their Windows 10 systems quickly and without any problems.
Sponsored Links
Why install Apache on your Windows 10 computer?
Apache is a web server – software which is typically used on computers that host web sites. So why would you want it on your computer? One simple reason: to learn a web scripting language such as PHP.
The aim is to set up a local web development environment on Windows 10 so that you may be able to create and test your programs without the need of an internet connection and the expenses of an actual server.
In brief, we would be downloading the Apache software pack and installing it on the hard disk of your Windows 10 computer. And don’t be intimidated by the number of slides – I just wanted to be thorough so that you don’t face any problem.
Let’s get started.
FYI, for these instructions and screenshots we use Microsoft Edge web browser – you can use the one you like. Also we would be downloading and installing Apache 2.4 on Windows 10.
- The Apache Software Foundation web site is at www.apache.org. However, they strongly suggest users to download the installation file from a mirror site.
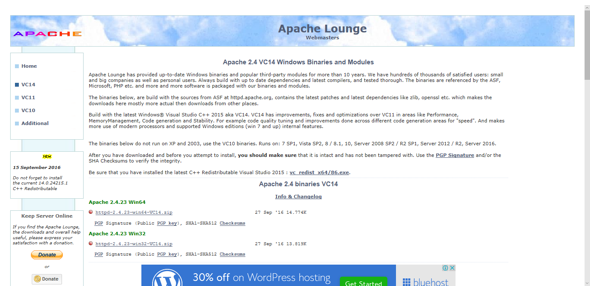
We like Apache Lounge, so click here to be taken directly to the Apache Lounge download page [Slide 1].
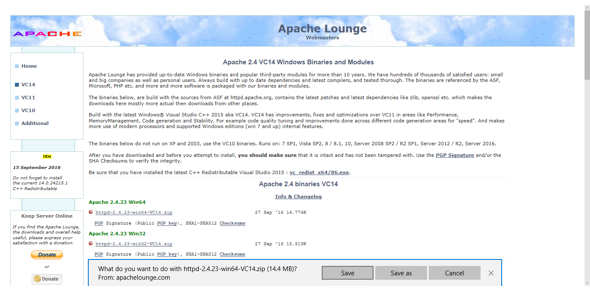
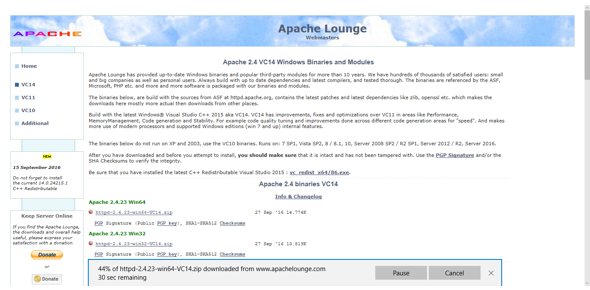
- The Apache 2.4.23 Win64 file is httpd-2.4.23-win64-VC14.zip [Slide 2]. Click to start the download [Slide 3].
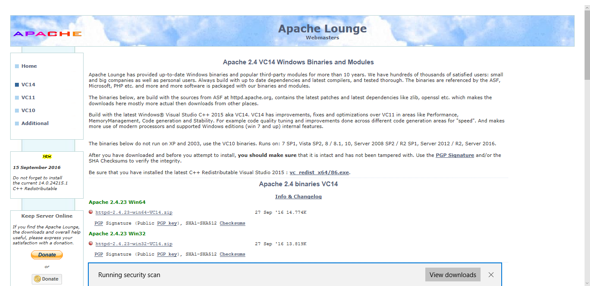
- The system may run a scan [Slide 4] upon downloading the file. Click Open folder button [Slide 5] (or you may move to the folder to which the file has been downloaded).
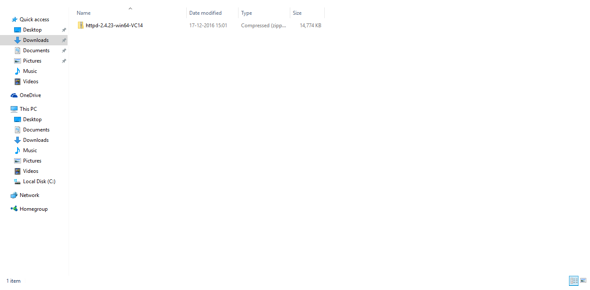
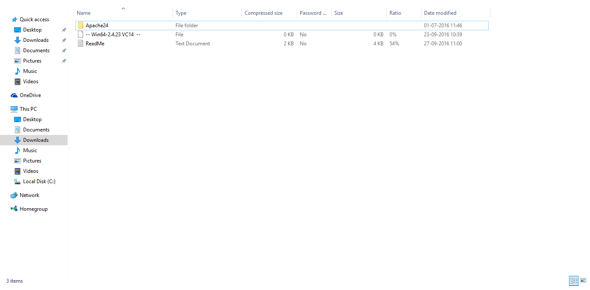
- The downloads folder will open with the zipped Apache installation file [Slide 6]. Double-click to unzip the file. In the compressed archive is a folder with the name Apache24 [Slide 7].
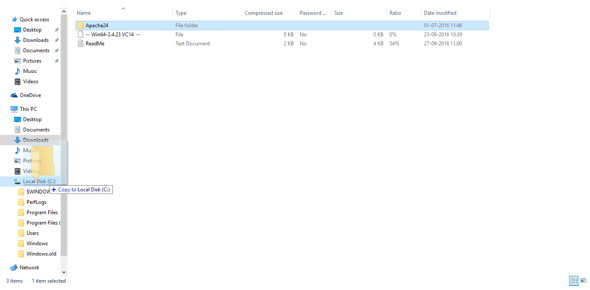
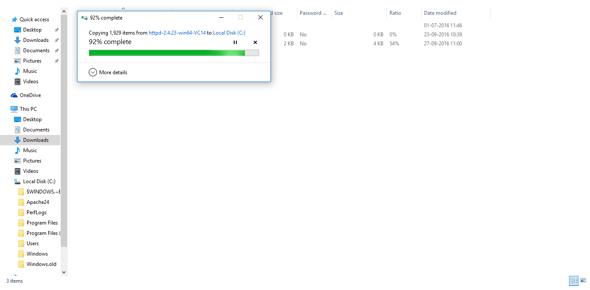
- Select this folder by clicking on it and and drag it directly into the C: drive of your local system [Slide 8]. This will create a folder on your local disk drive and copy all the contained files [Slide 9].
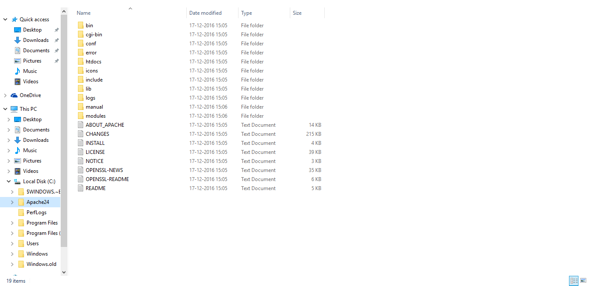
- Now move to the newly created C:/Apache24 folder to find a whole bunch of files and folders that had been copied from the Apache zipped archive [Slide 10].
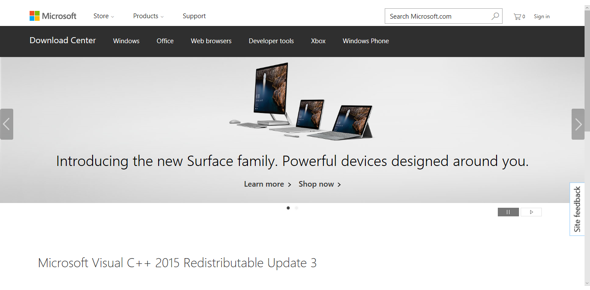
- Apache requires the latest C++ redistributable Visual Studio 2015. This needs to be downloaded from the Microsoft web site. Click here to be taken directly to the download page [Slide 11].
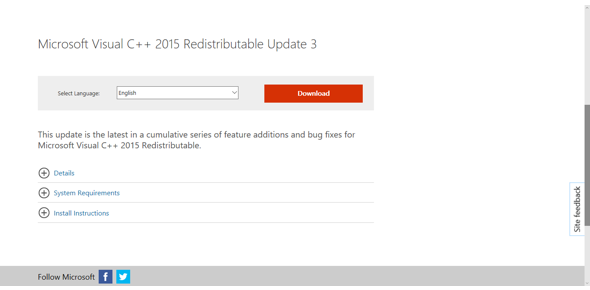
Scroll down, select the language and click the large Download button [Slide 12].
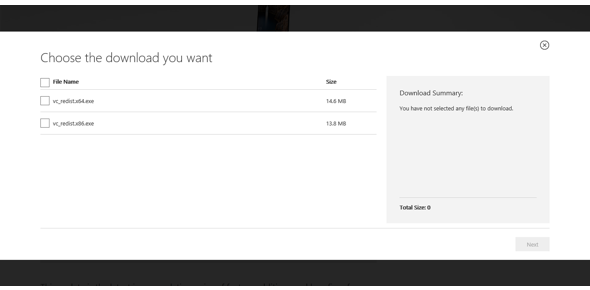
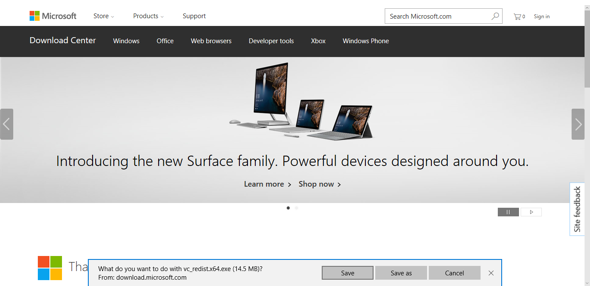
- Select the vc_redist.x64.exe [Slide 13] by putting a check mark in front of it and click Next to start the download [Slide 14].
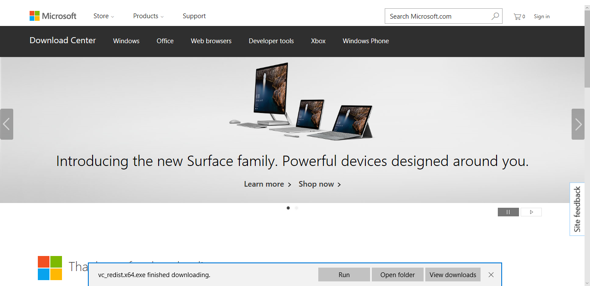
- Once the file has finished downloading, click on Run to run it [Slide 15]. If the User Account Control displays a pop-up, simply click on the “Yes” button.
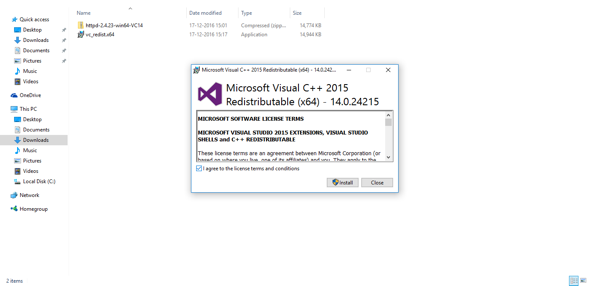
- A pop-up will appear. Agree to the license terms and conditions by putting a check mark in the box and hit the Install button [Slide 16].
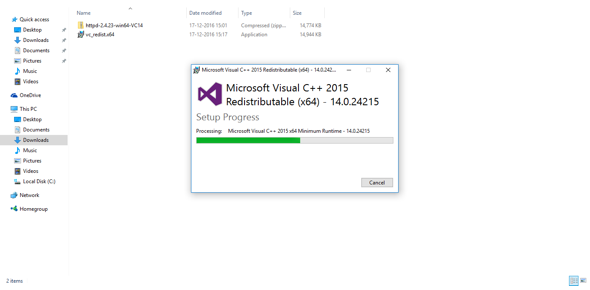
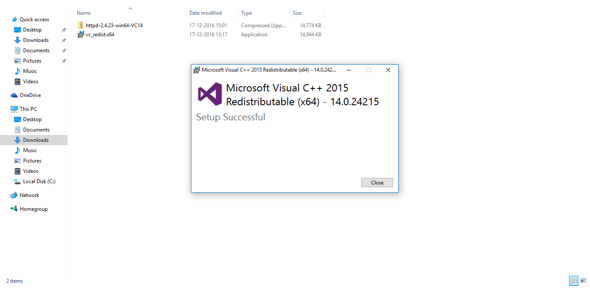
- The program will begin to install [Slide 17] and will inform you once the process is complete and successful [Slide 18]. Close the pop-up.
The only thing left is to perform the actual installation of the Apache server. However, before we do that, I strongly recommend a few changes to the configuration file so that your local development environment becomes easy to work with. After all, you’ve probably installed Apache to run a server-side scripting language like PHP.
Continue to the next section to learn how to set up and configure Apache on a Windows 10 computer.